Wedding DIY
Flower Crown DIY – 4 Easy Steps to a Beautiful Flower Crown
THIS POST CONTAINS AFFILIATE LINKSI have long thought flower crowns the most chic and romantic way to complete an ensemble for a wedding – be it for the bride, bridesmaids or flower girls. And when it comes to making a flower crown that is both pretty and fragrant, and that reflects the beauty of the season you’ve chosen to get married in, fresh flowers are the best option! And thanks to the lovely people over at Pro Flowers creating your own flower crown couldn’t be any simpler – there are just 4 easy steps!

“A DIY flower crown is easy to make and easy to maintain. Our step-by-step guide will show you how to make flower crowns to wear or give away as a gift! Before you get started on this flower crown DIY, take a look at what materials you’ll need.”
Flower Crown Materials
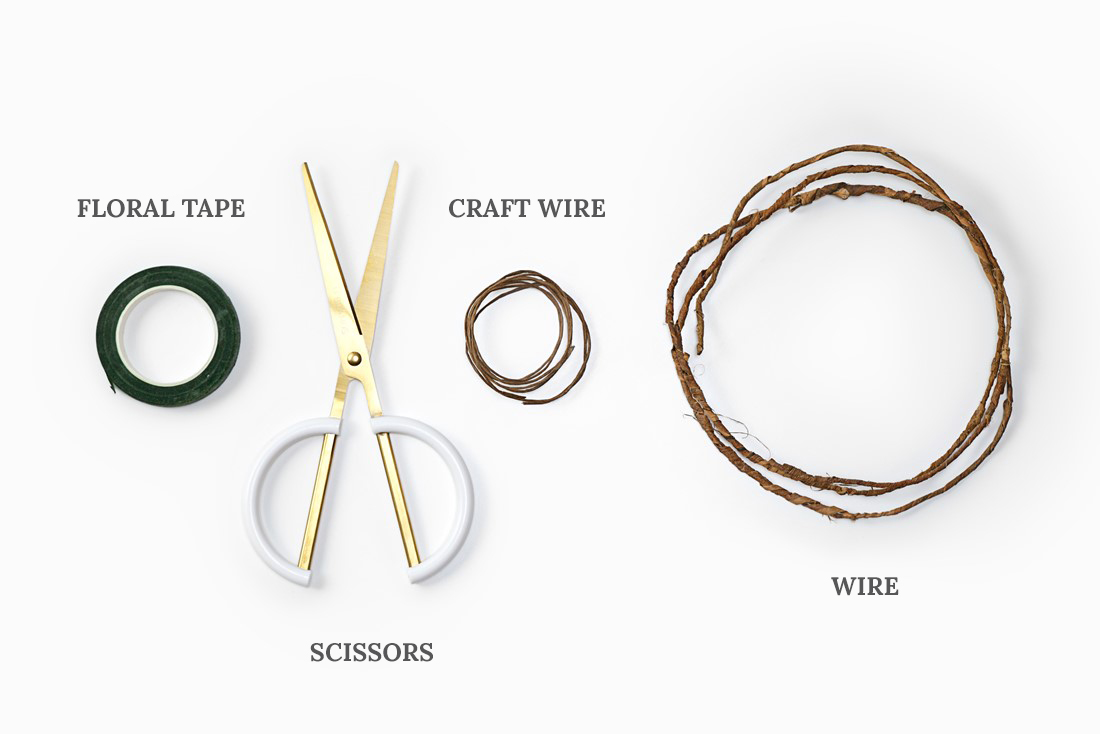
- Floral tape – Floral tape is best for wrapping fresh flowers together. This tape can easily blend in with your blooms and greens since it comes in shades of green, brown and other natural colors.
- Scissors – Keep a sharp pair of scissors handy to cut your flowers, wires and tape.
- Craft wire – A roll of craft wire is easier to work with than pre-cut wires because you can measure the wire for your crown to the exact measurement of your head. You will use this to tie flowers to your crown.
- Wire – This wire is sometimes referred to as pliable twine, grapevine wire or vine wire. This is used as a comfy base for your crown.
- Flowers and greenery – Cut stems to about 2 to 3 inches to make assembly easy. Get a mix of statement and filler flowers to vary your textures and design.
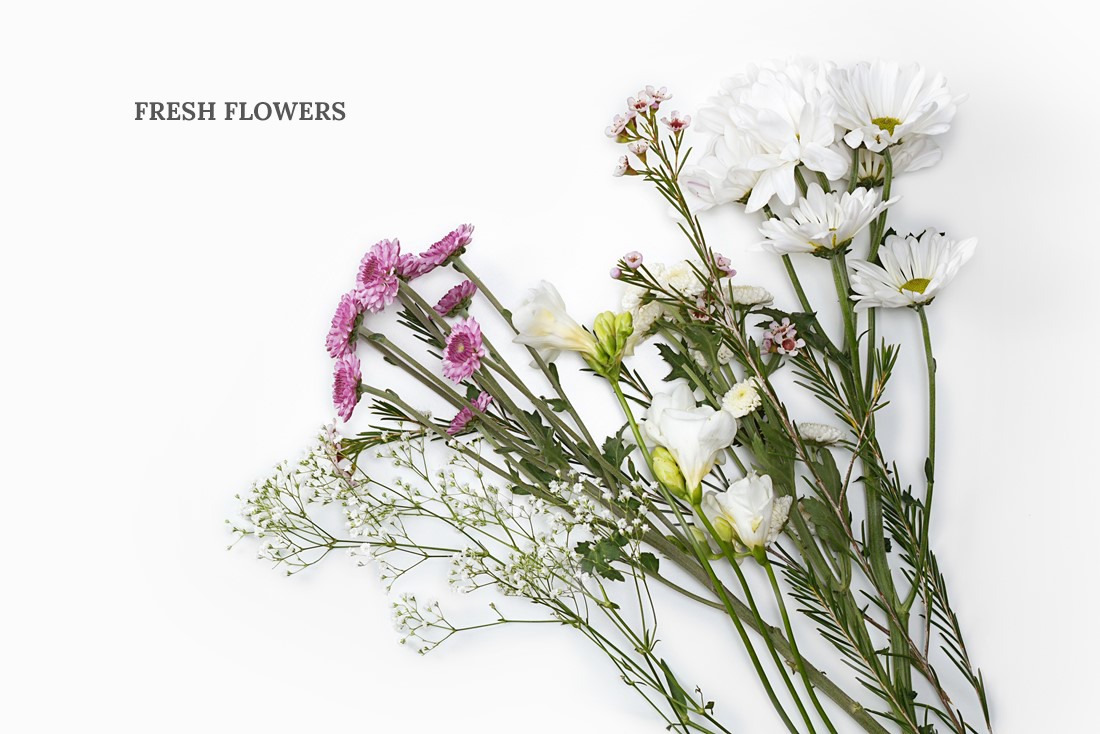
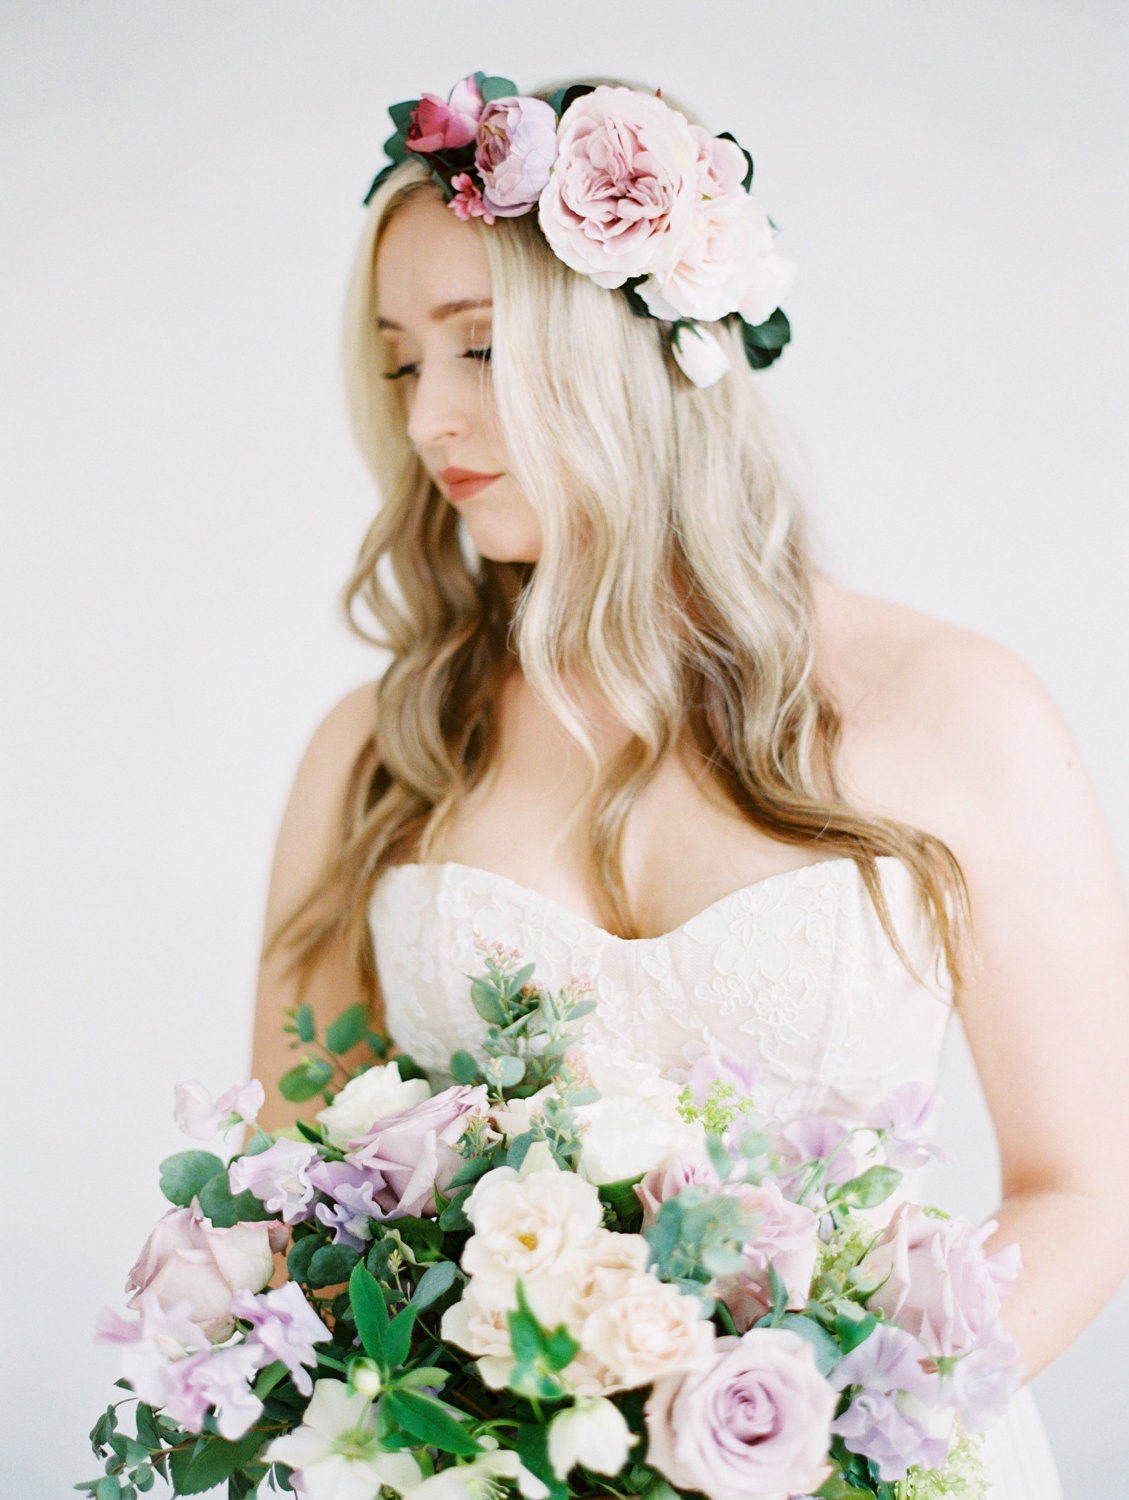
Pro Tip: Different flowers create a different feel and look for your crown! Large statement flowers are bold choices for people who love the spotlight. Crowns with mainly small filler flowers are great for a more delicate look. Get creative and have fun finding what combination of florals and greenery works best for you! Once you have your favorites picked out, you can get started with making your very own flower crown.
DIY Flower Crown Directions

Step 1: Shape the wire to your desired size.
Take the wire and wrap it around your head to find your best fit. Leave about a ½ inch of wiggle room and cut off the excess wire. Secure the ends with floral tape.
Pro Tip: If you’re planning to wear this for a special event like a wedding, measure your flower crown with your desired hairstyle. Your crown will fit differently depending on how you style your hair.
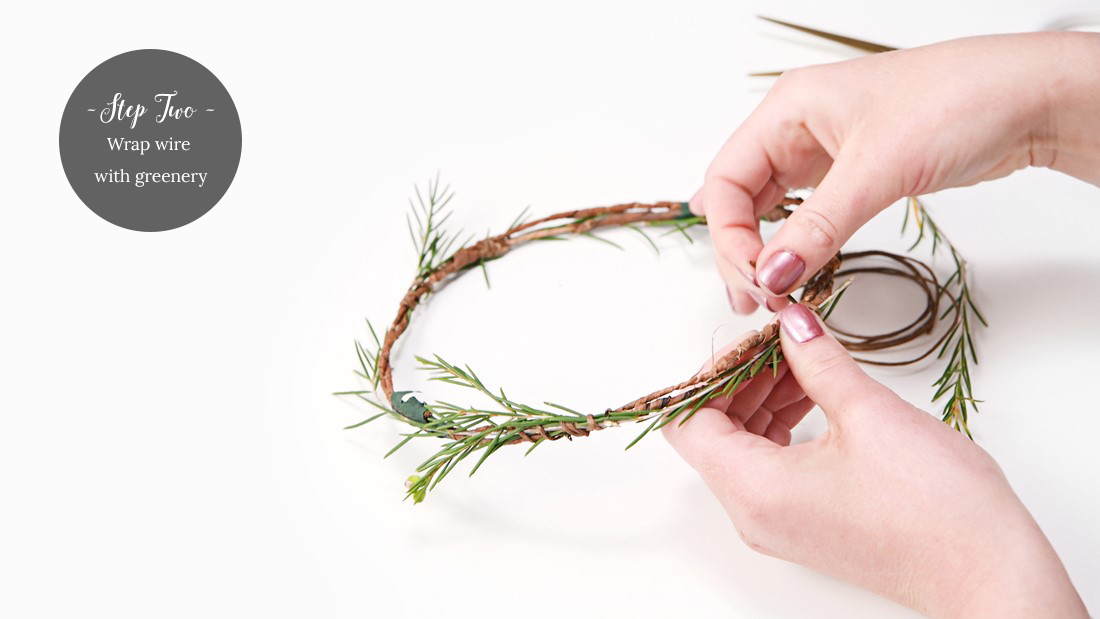
Step 2: Wrap greenery around the base of the crown.
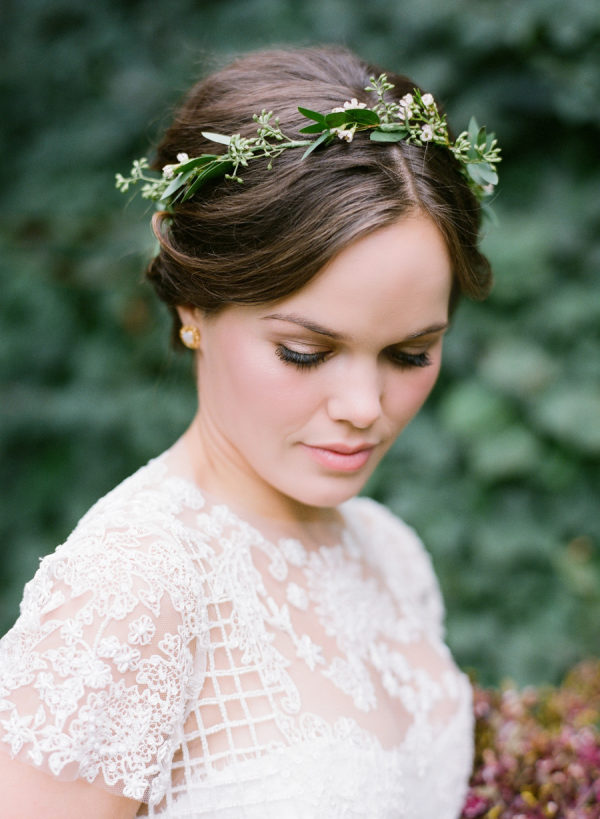
Use the floral tape to affix the greenery’s stems to the floral wire. Your choice of greenery depends on the type of crown you want to create. Subtle greenery like myrtle and ivy are great for a more delicate look. Fuller greens like leather leaf and dusty miller are better choices for fuller crowns.
Pro Tip: If you want a crown with a focus on florals, you can skip this step and add more flowers! Check out our styling inspiration below to see all of the different ways you can style your crown.
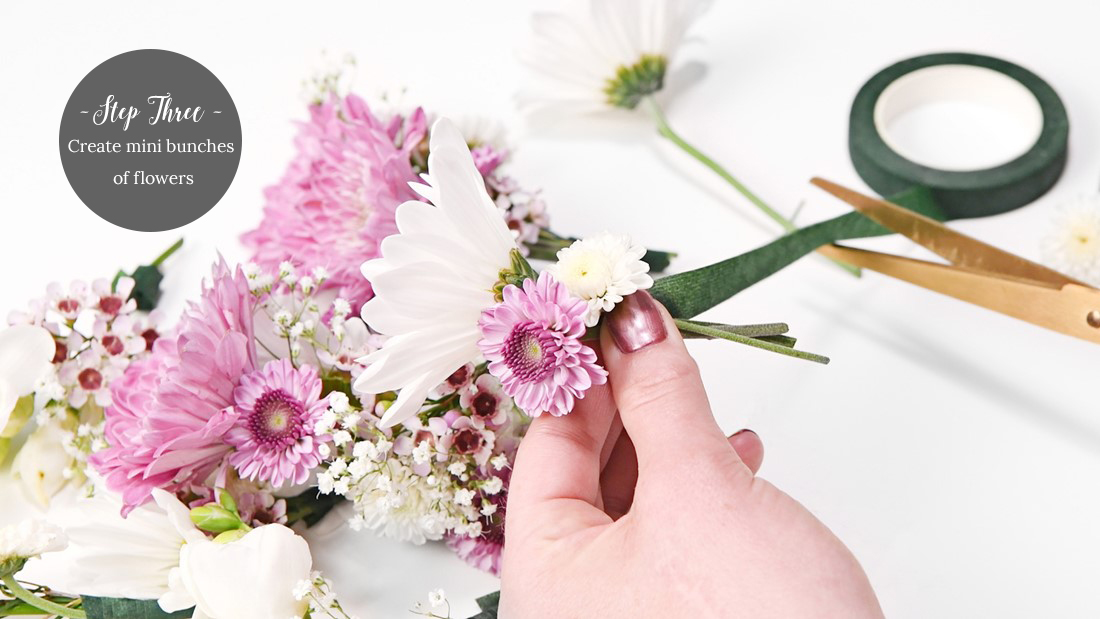
Step 3: Create mini-flower bunches to prepare your crown.
Start by selecting three blooms and wrapping the stems together with floral tape. Wrap the floral tape from the base of the bloom to the bottom of the stem to make sure it’s secure.
Combine your statement flowers with a couple filler flowers if you want a balanced look. After making about eight bunches, you can start affixing your bunches to your crown.
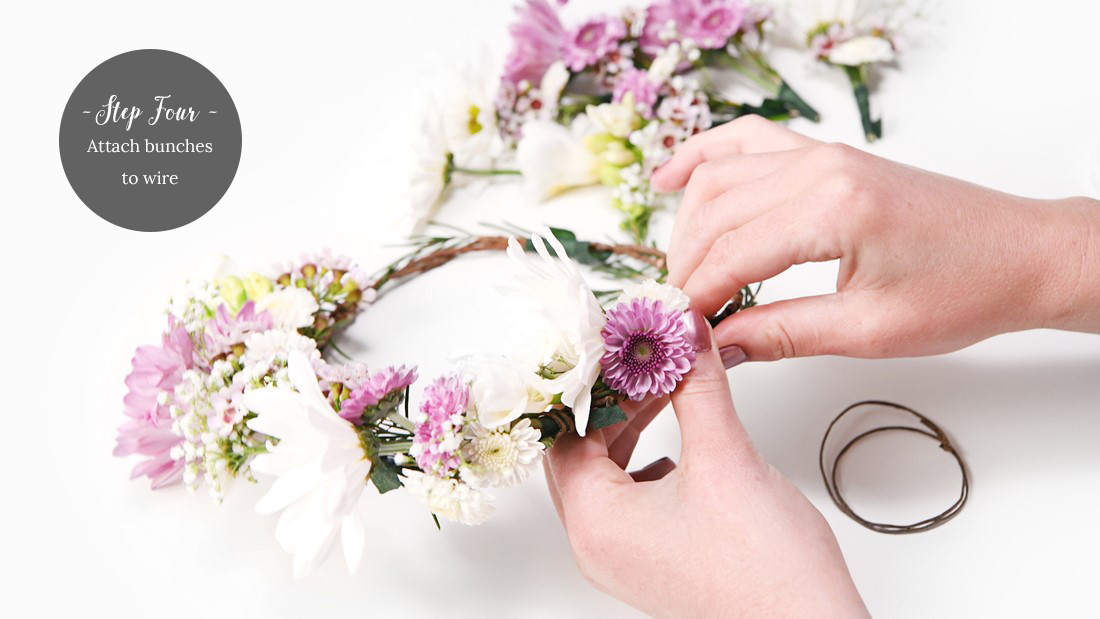
Step 4: Attach your flower bunches to crown.
Grab your first flower bunch and fasten the stems to your crown with craft wire or floral tape. Layer more blooms over the stems to create a seamless floral look. Attach the flowers in one direction facing outwards for the blooms to stand out. Continue to layer your flowers until you’re satisfied with your crown!
You can create a focal point by affixing a few statement flower bunches towards the front or side of your crown and filling out the rest with filler flowers.
Pro Tip: Store your crown in the fridge to keep it fresh.
You can make your crown a couple days in advance if you leave it in the fridge. It’s best to put it in there soon after you make it! Place your crown in a safe spot in your fridge so it won’t get squished. Spray it with water when you’re ready to wear to refresh the blooms.
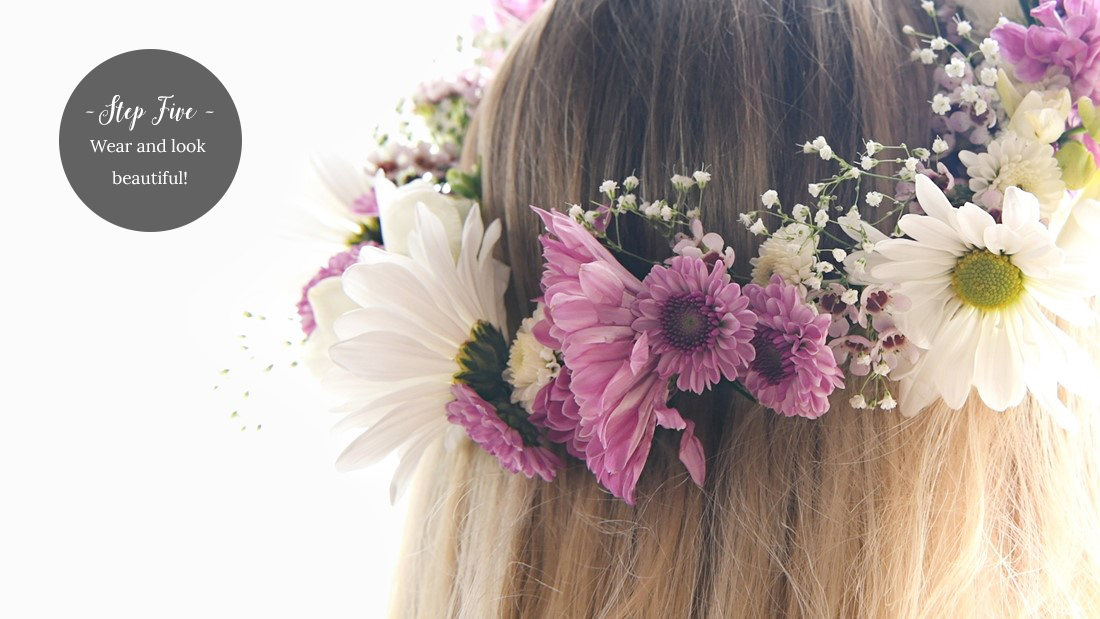
Wear your flower crown and look and feel beautiful!
“Flower crowns are a great accessory for any season. Spring is a great time to create a light and bright crown to complement the fresh spring flowers. Fall is perfect for showing off rich fall colors and incorporating more natural elements into your crown. Your options are endless thanks to the wide variety of flowers and foliage available year-round.”
Now that you have your DIY flower crown basics down, check out all of these unique designs to get inspired for your perfect flower crown!
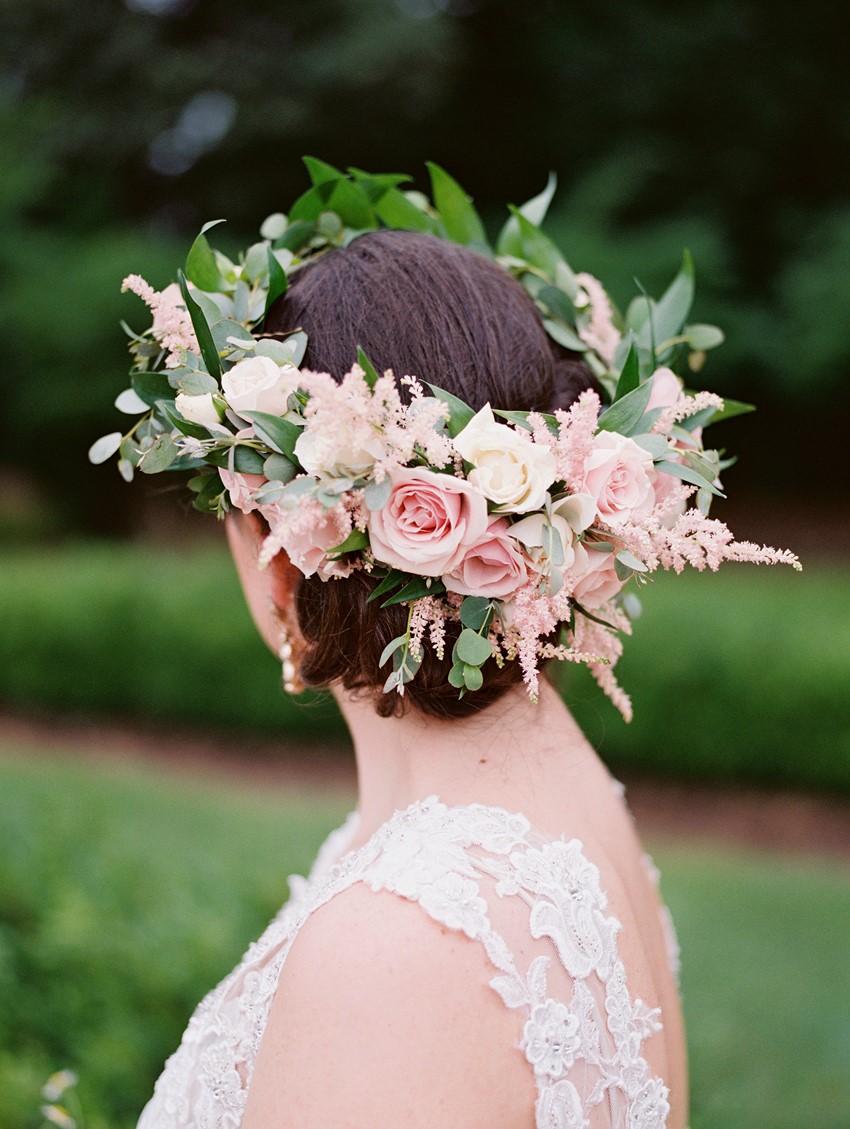
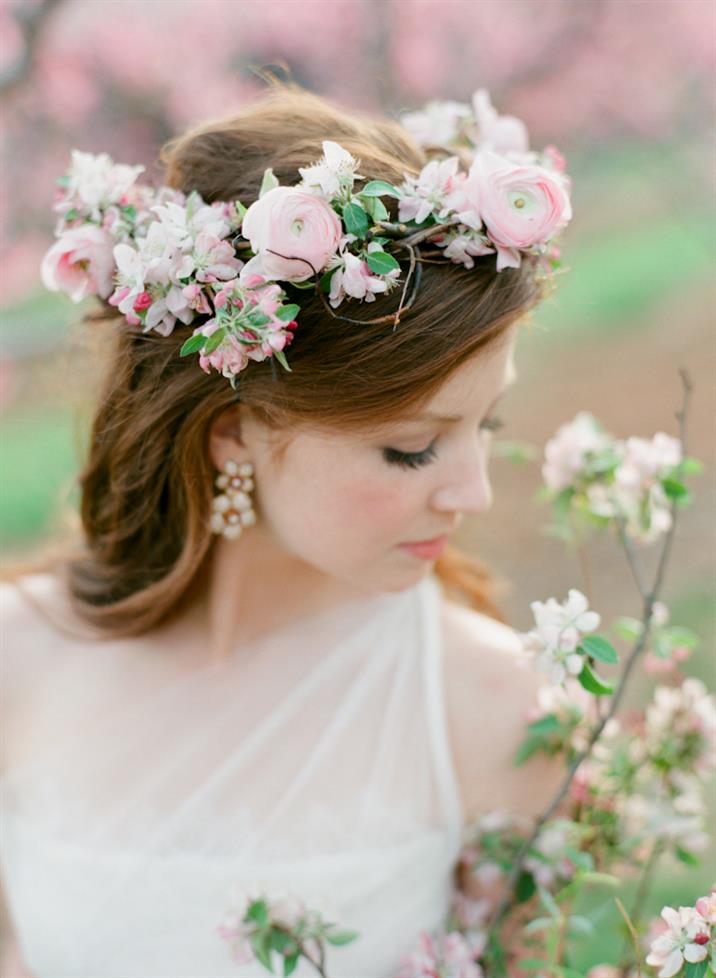
Lush Rose Flower Crown – Krystle Akin Photography
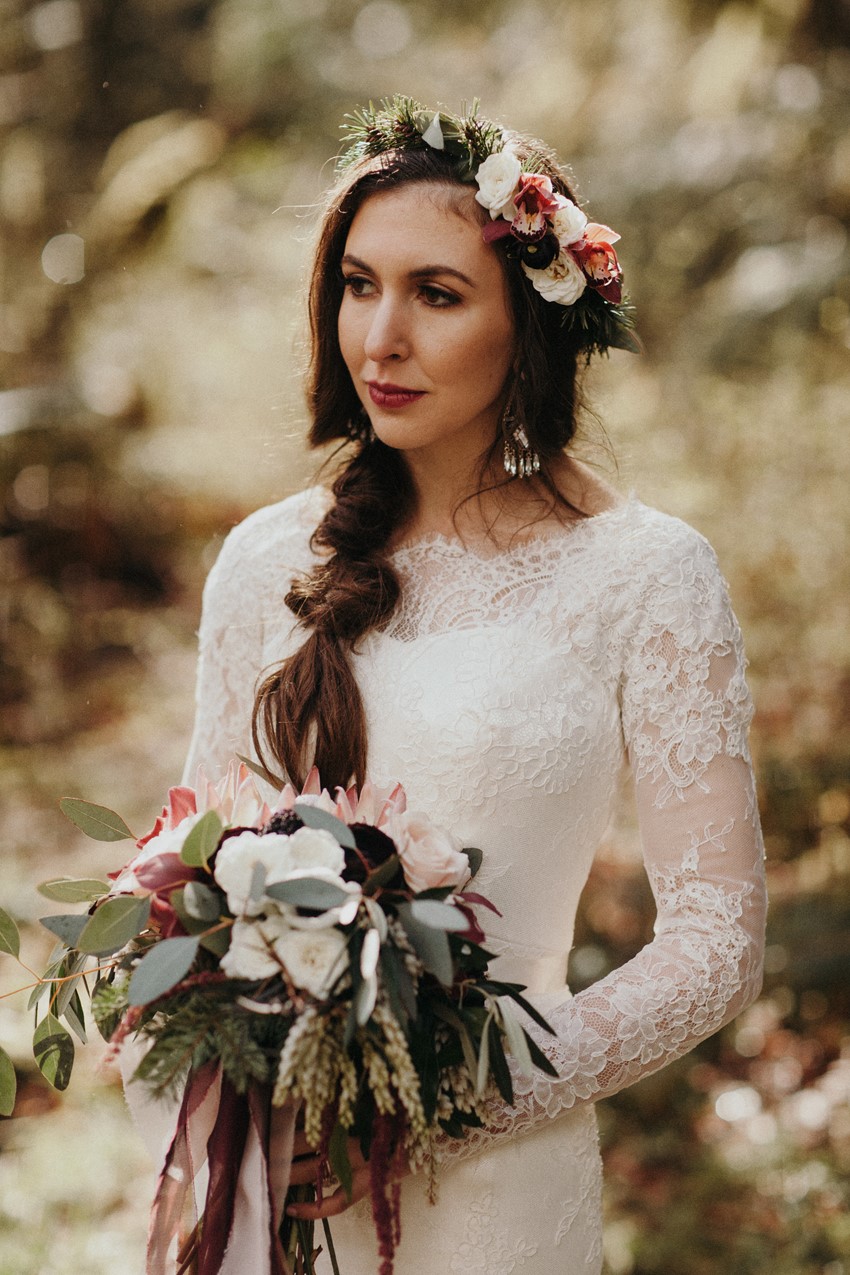
Orchid & Fir Flower Crown – Jordan Voth Photography
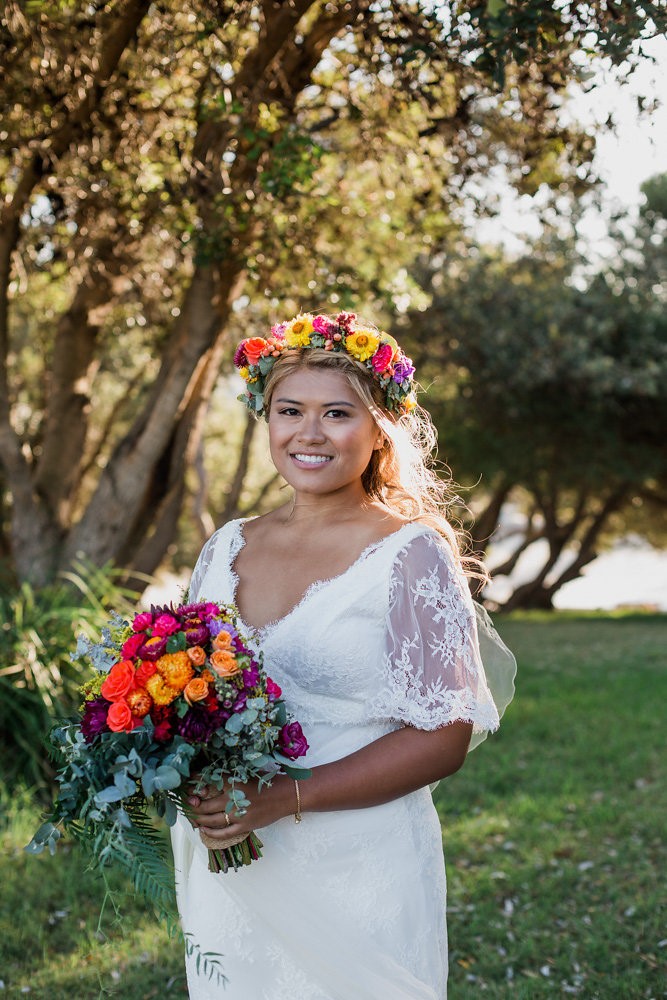
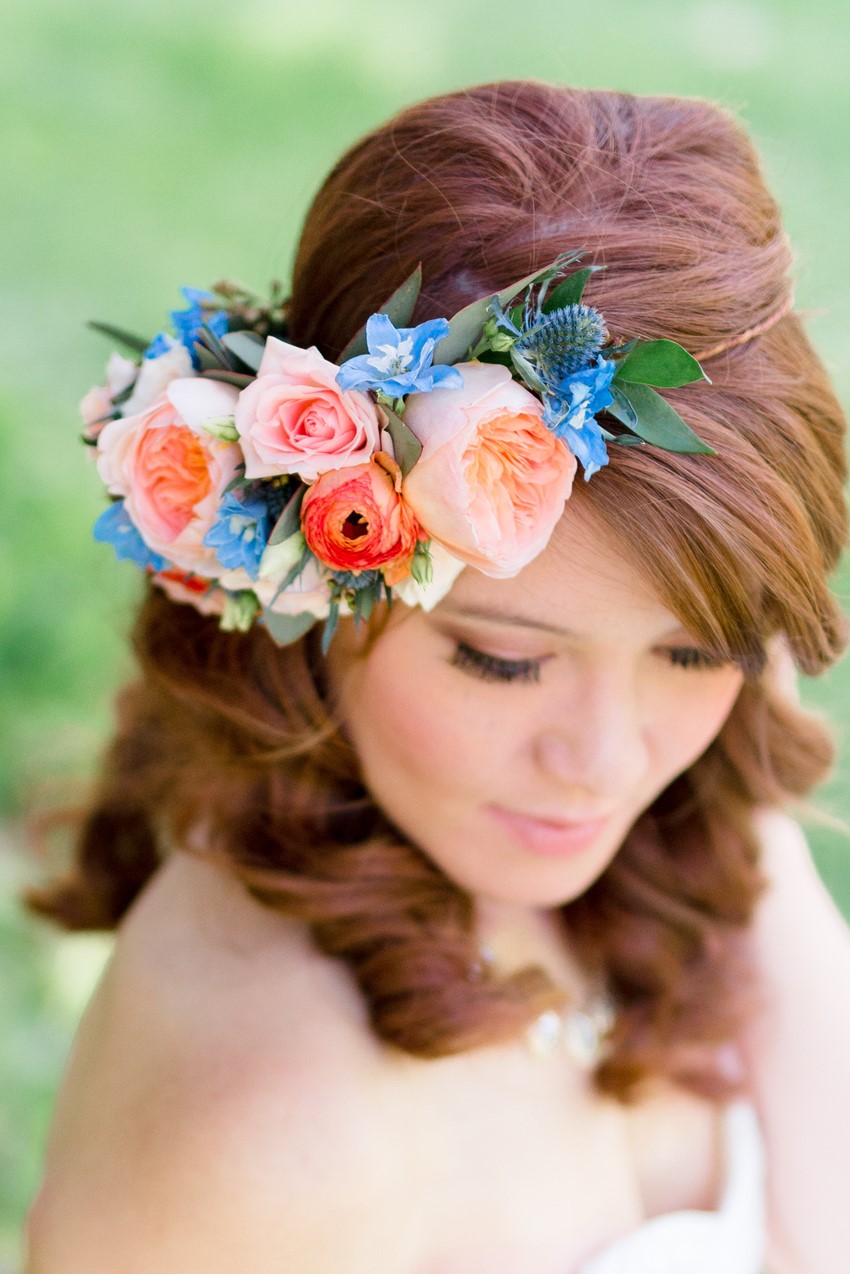
Vibrant Bridal Flower Crown – Bless Photography
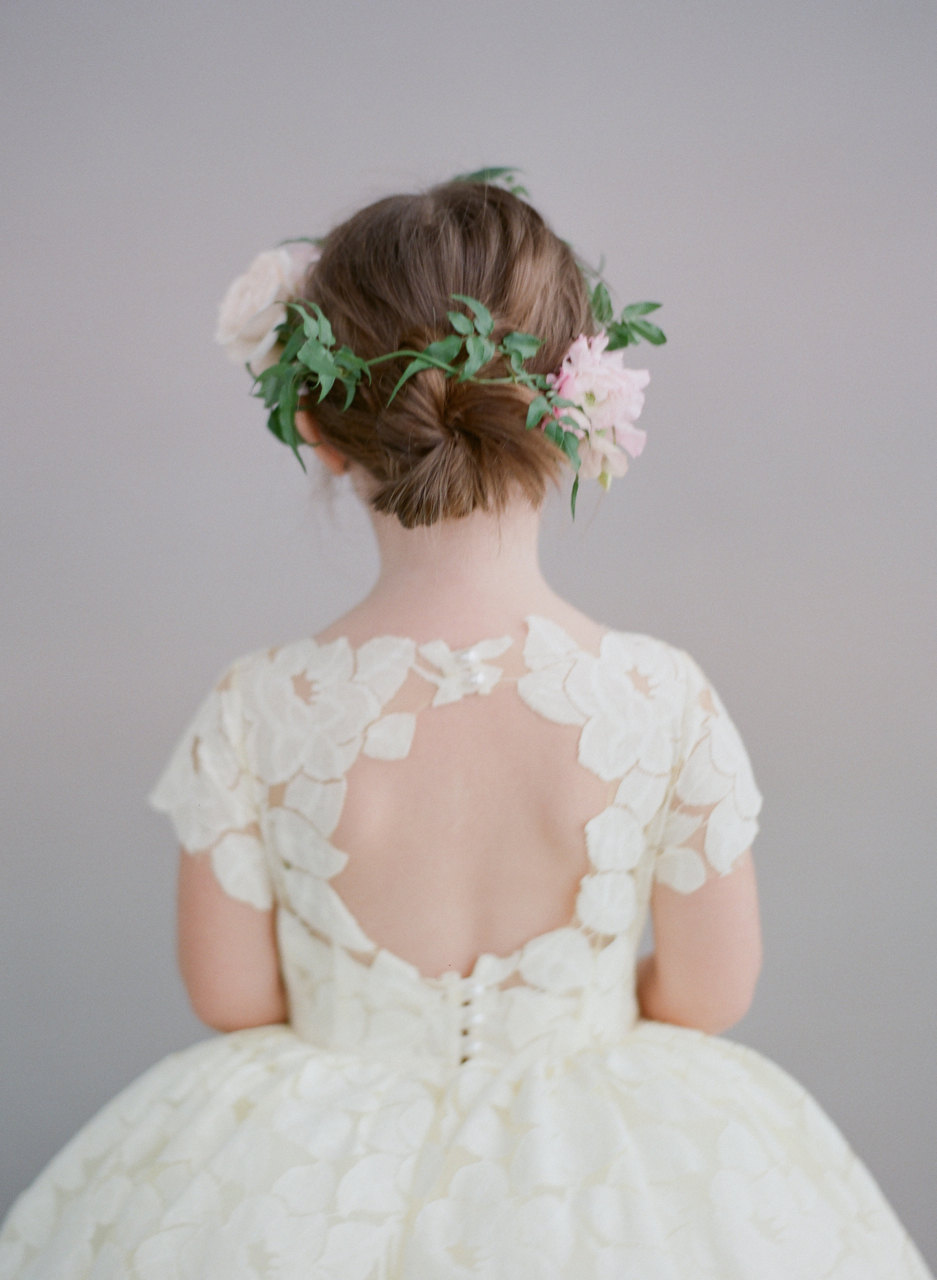
Jasmin Flower Girl Flower Crown – Doloris Petunia
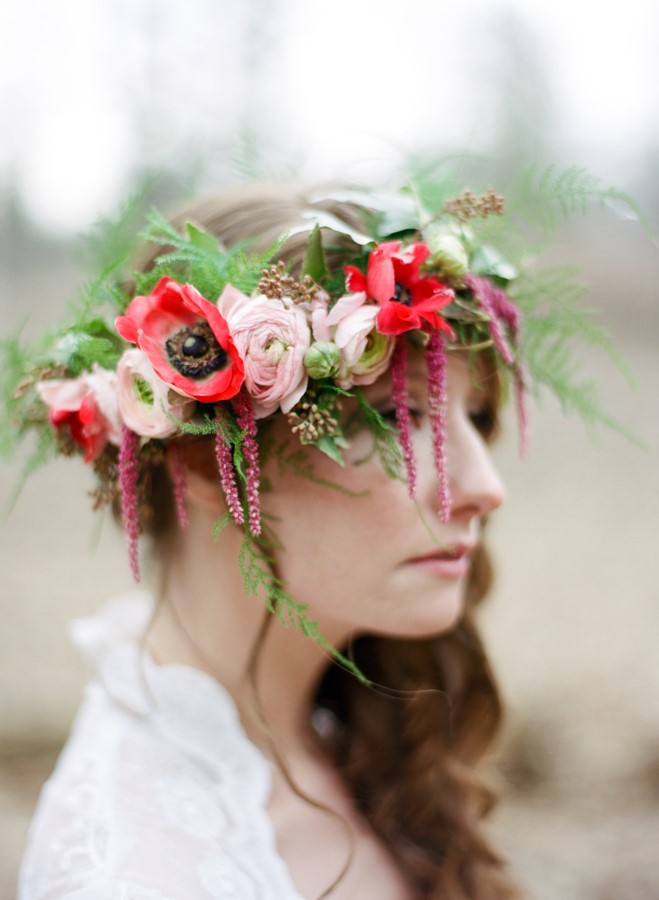
Asymmetric Flower Crown – Anna Kardos Photography
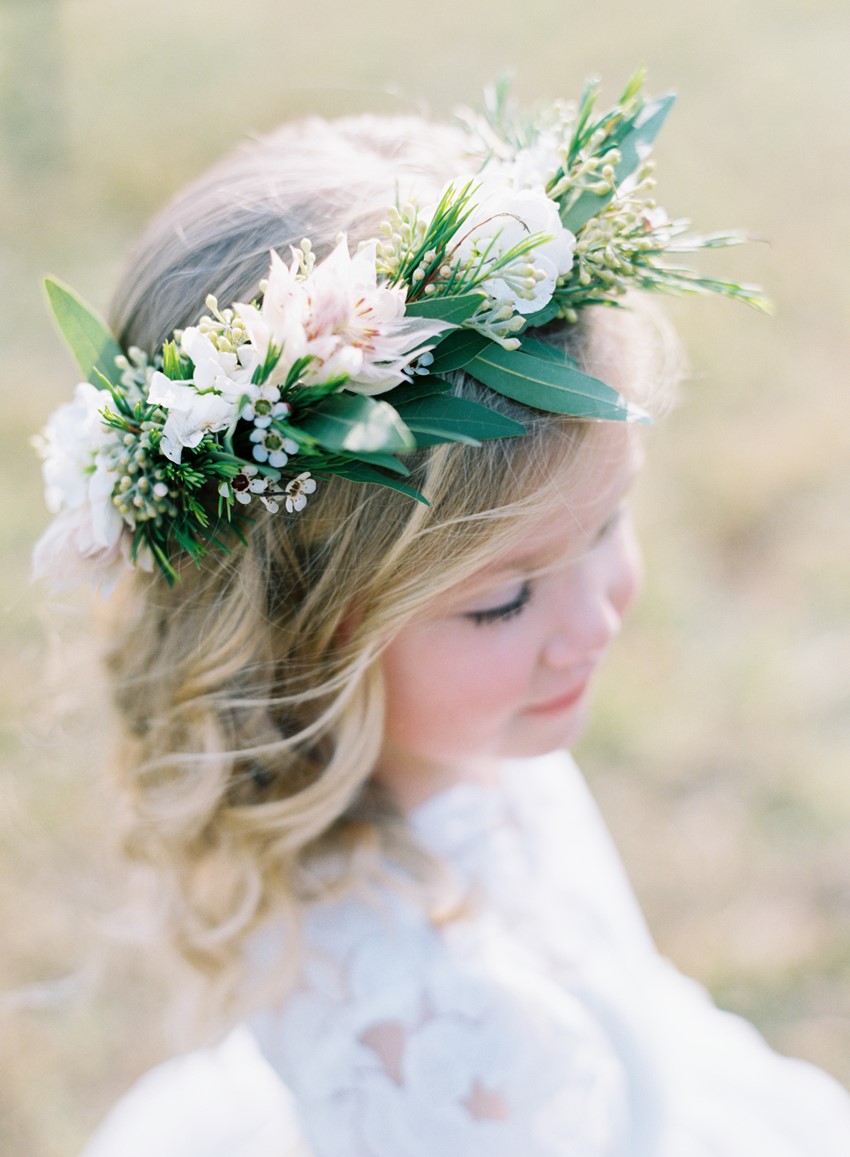
Flower Girl Flower Crown – Austin Gros Photography
Cascading Flower Crown – Kurtz Orpia Photography
Oh and here’s a quick video (just 1 minute long!) recapping the 4 simple steps to creating a flower crown of your own….
Or if you love the idea of a flower crown but don’t fancy DIYing one, how about buying one of these ready made beauties….
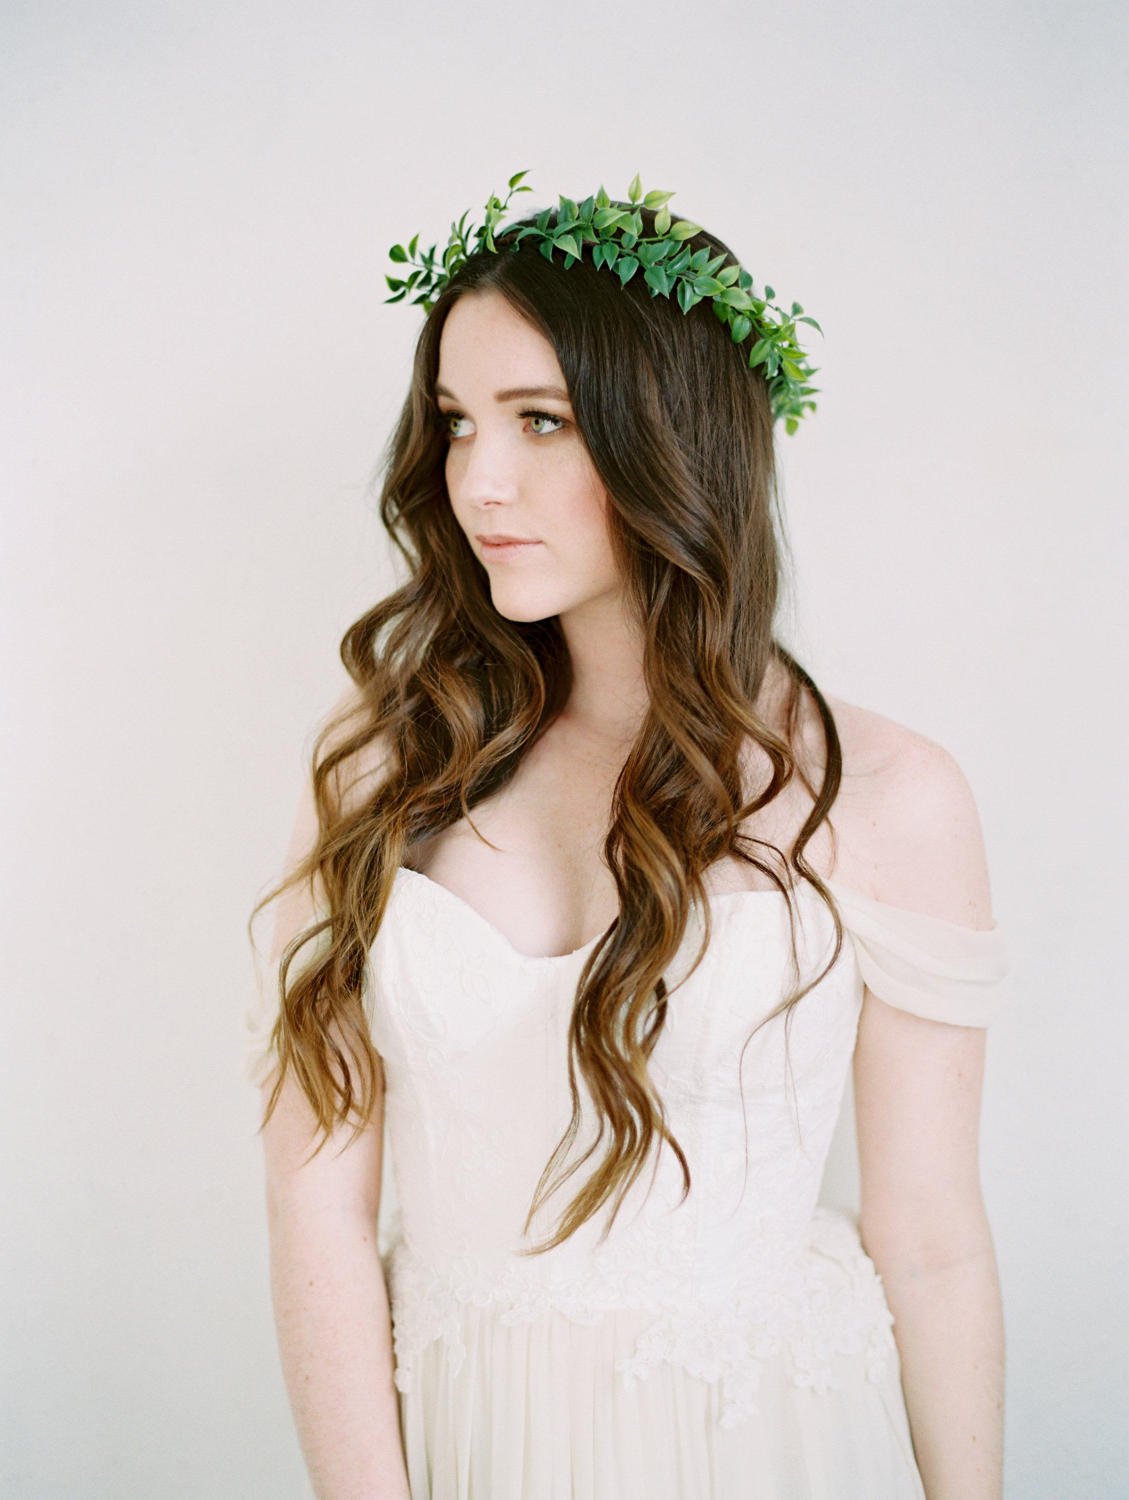
Greenery Flower Crown – Love Pretty Sparkle

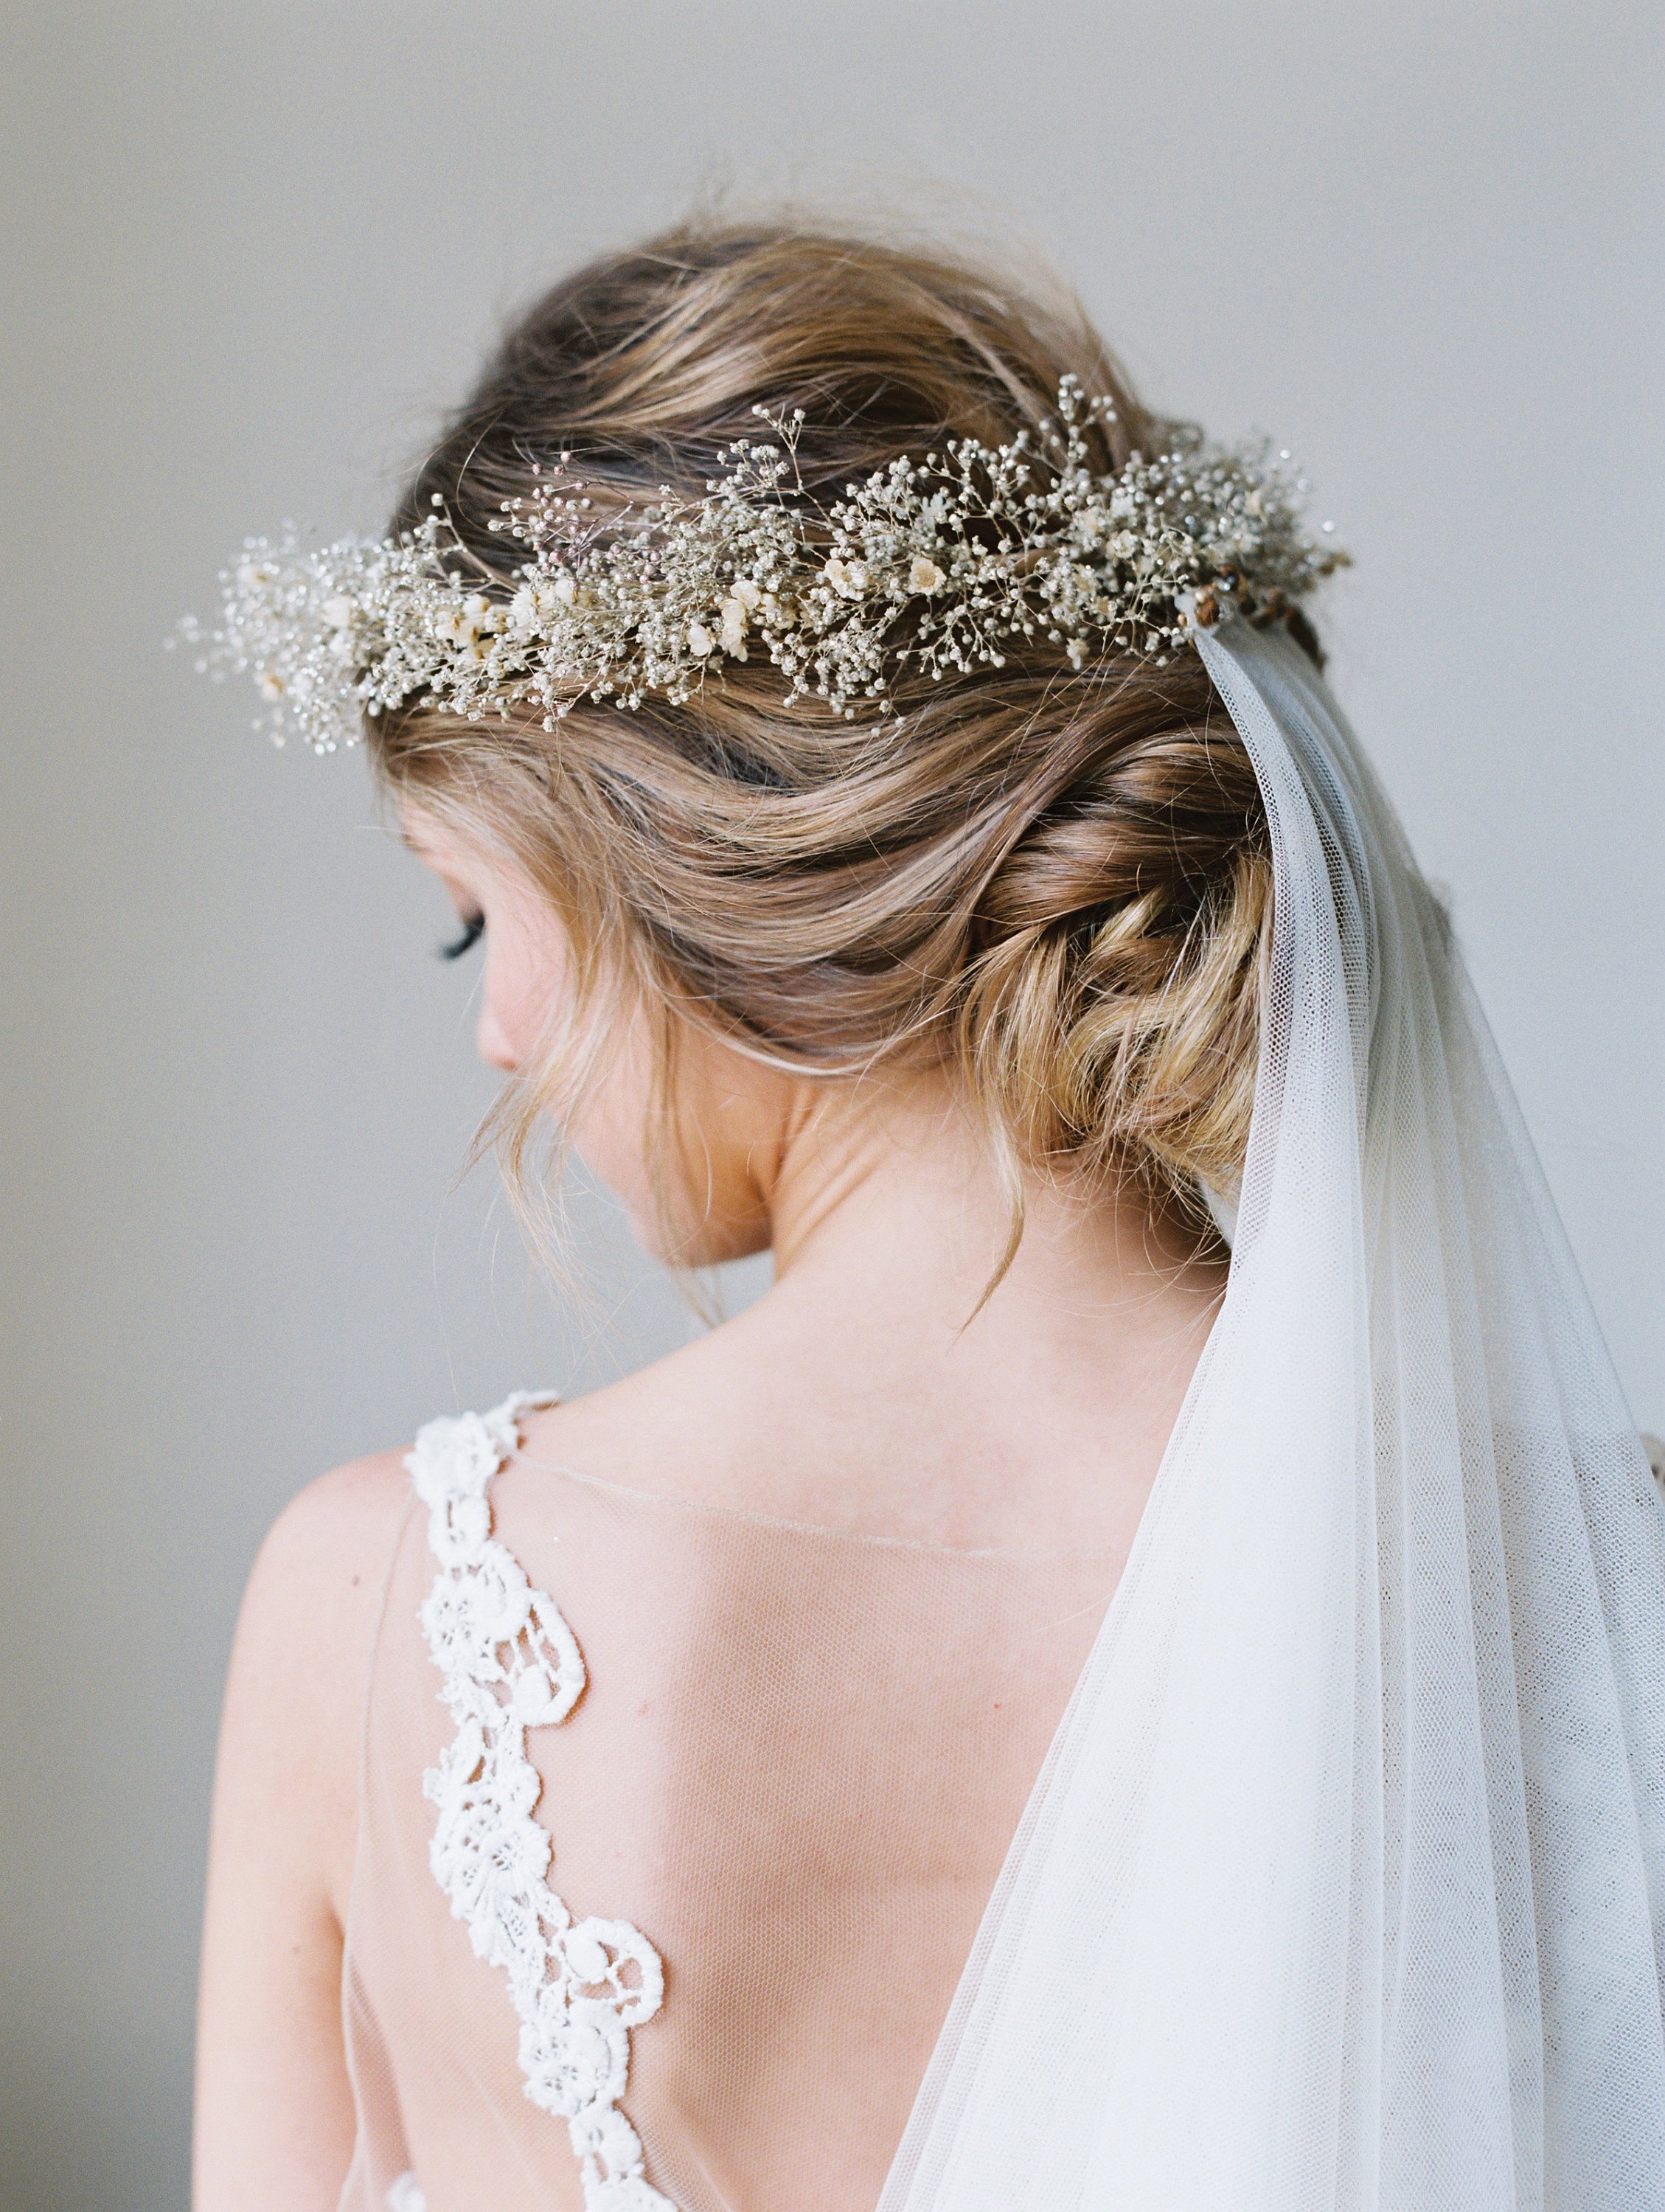
Or for something with more vintage appeal, this Preserved Babys Breath Flower Crown….
Or with holiday season fast approaching, how about this Christmas flower crown….
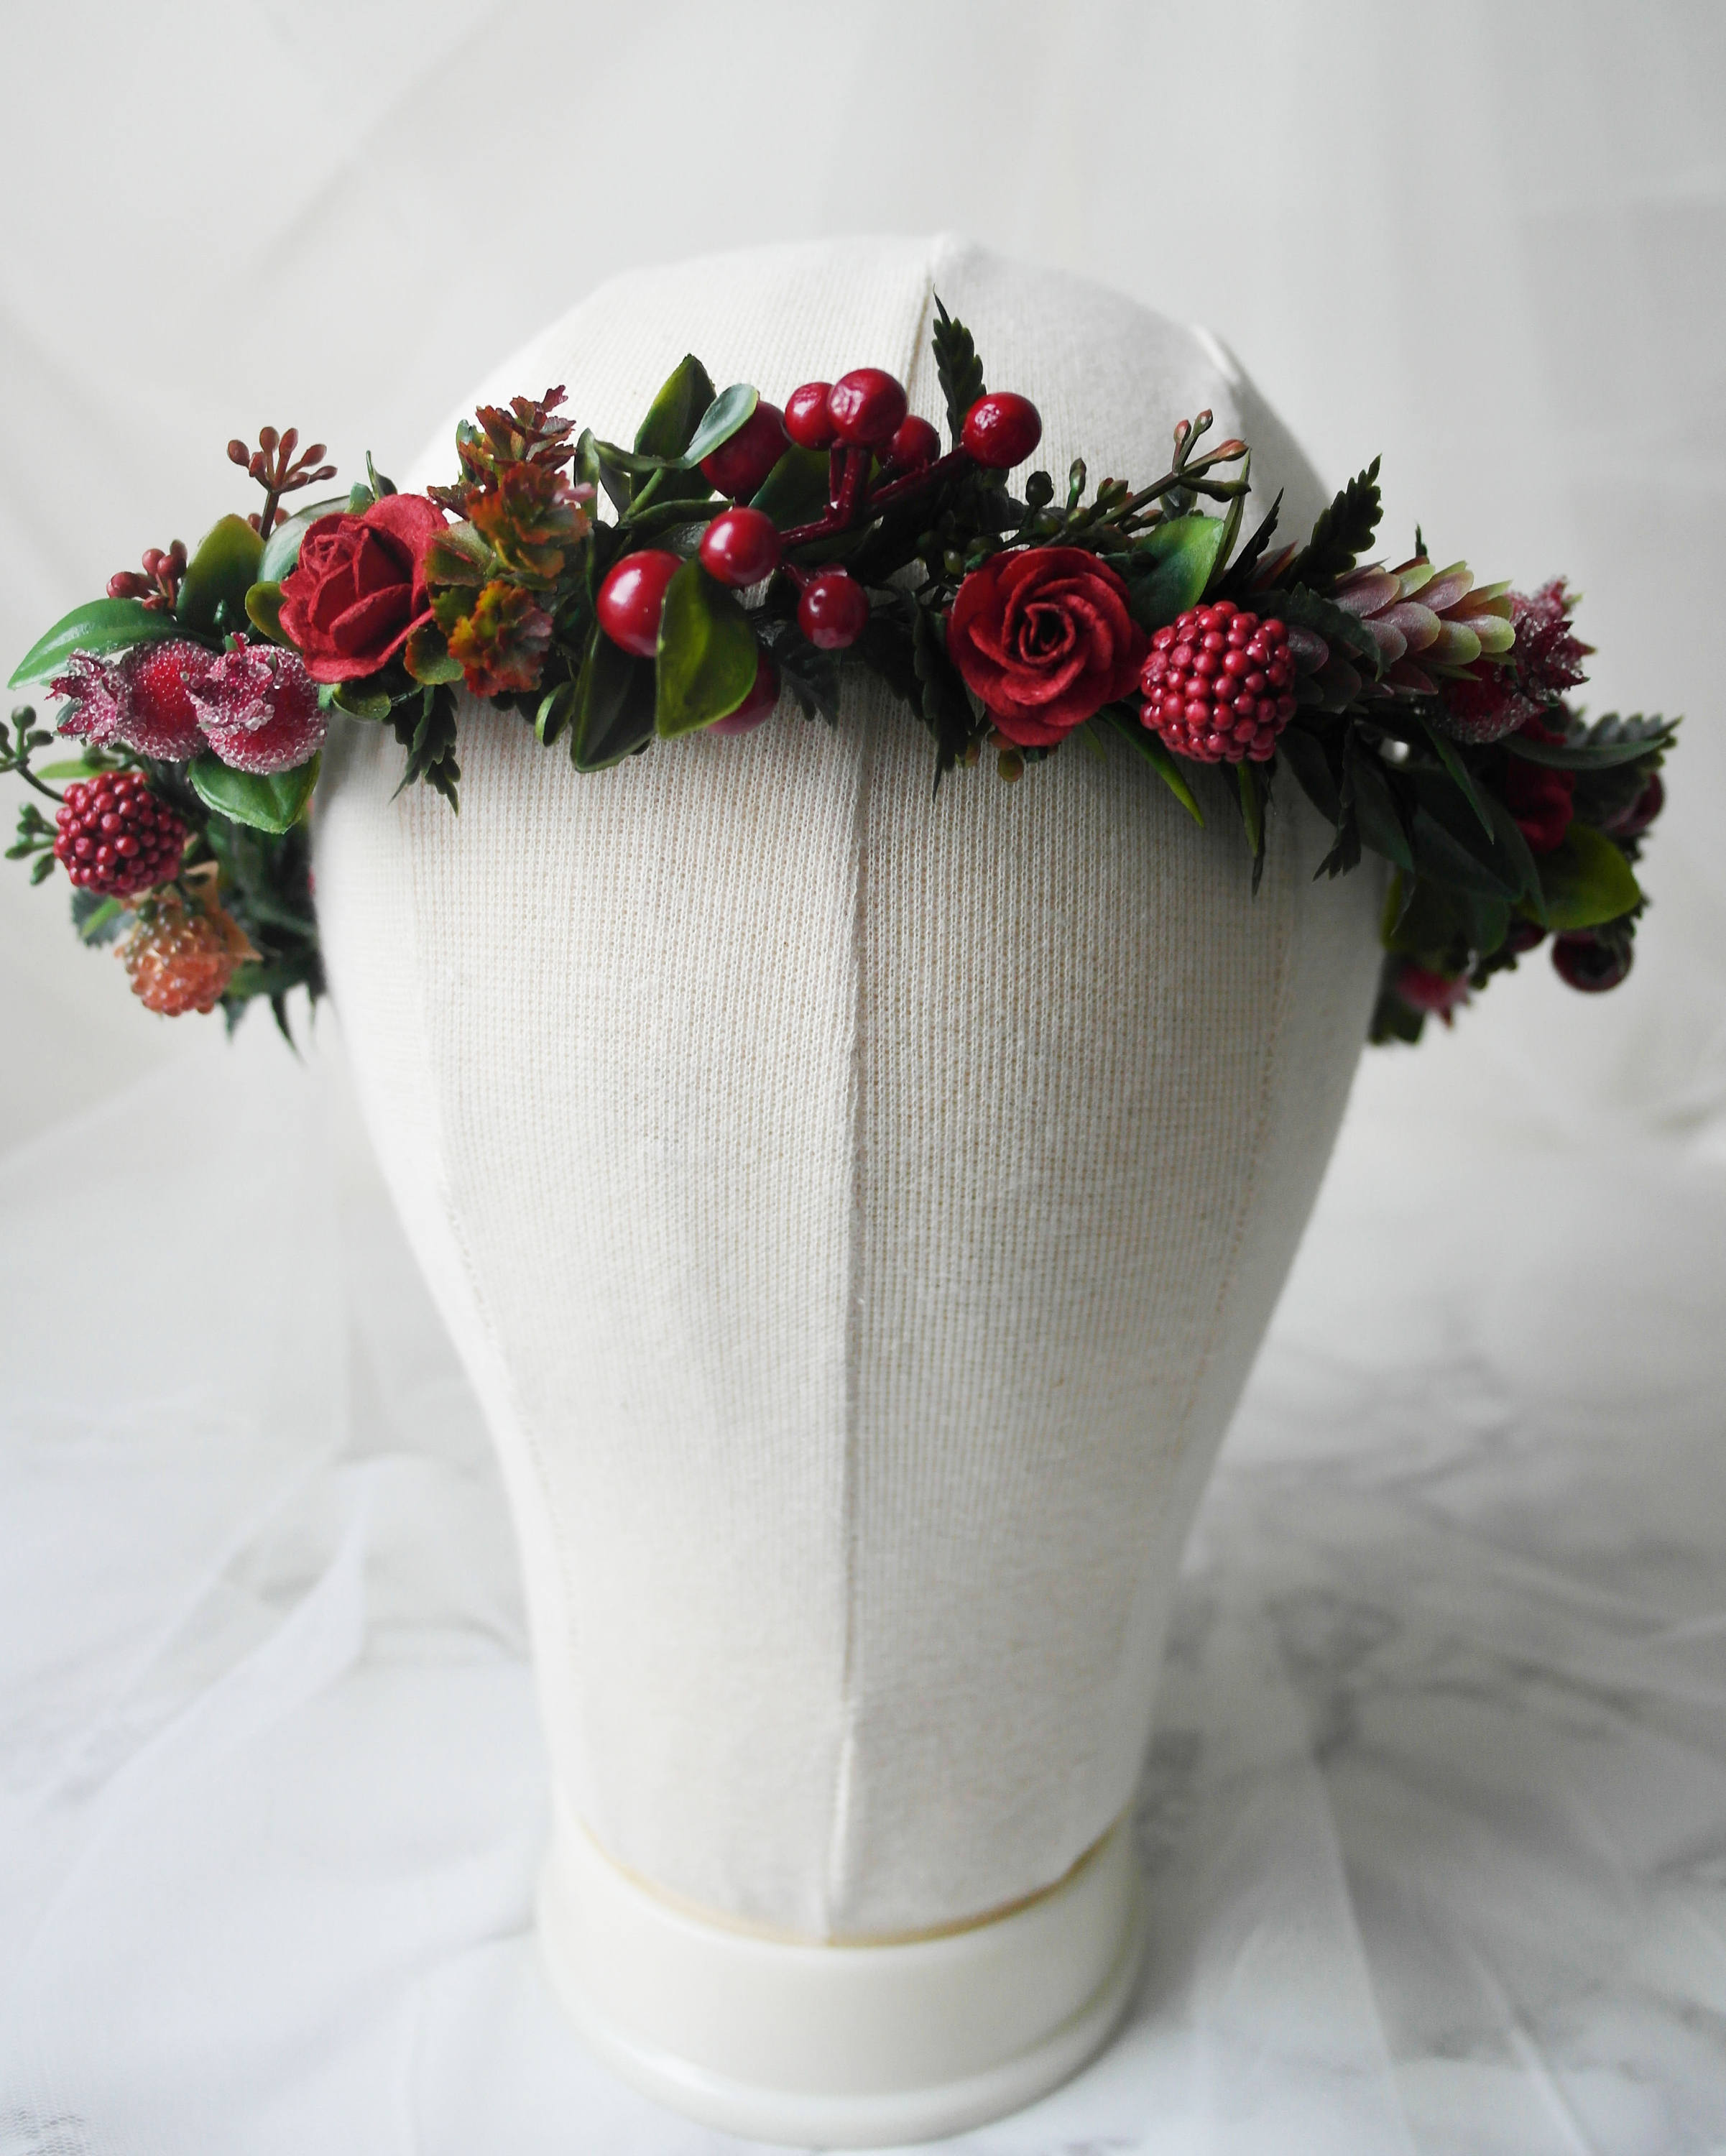
Christmas Flower Crown – Innocent Chaos (who even sells the complete DIY kits!)


