Wedding DIY
DIY Strawberry Pie Pops for Valentines
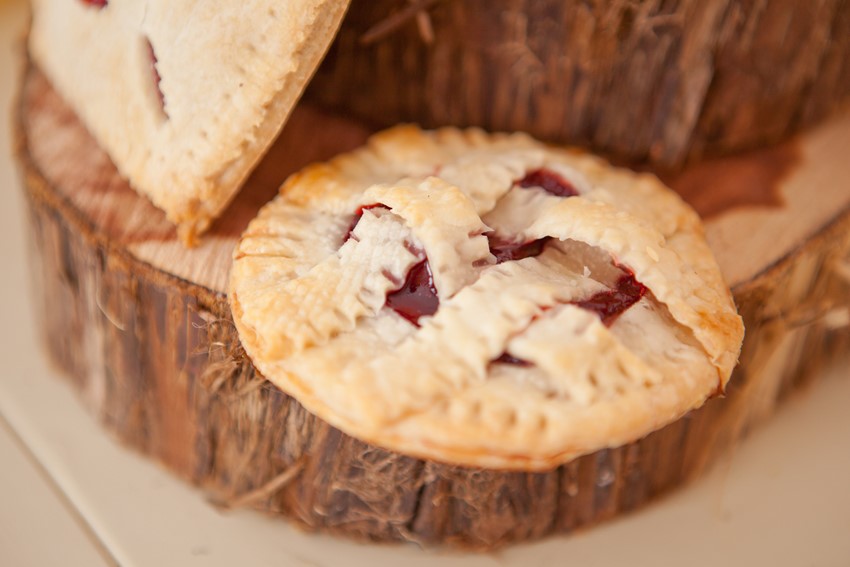
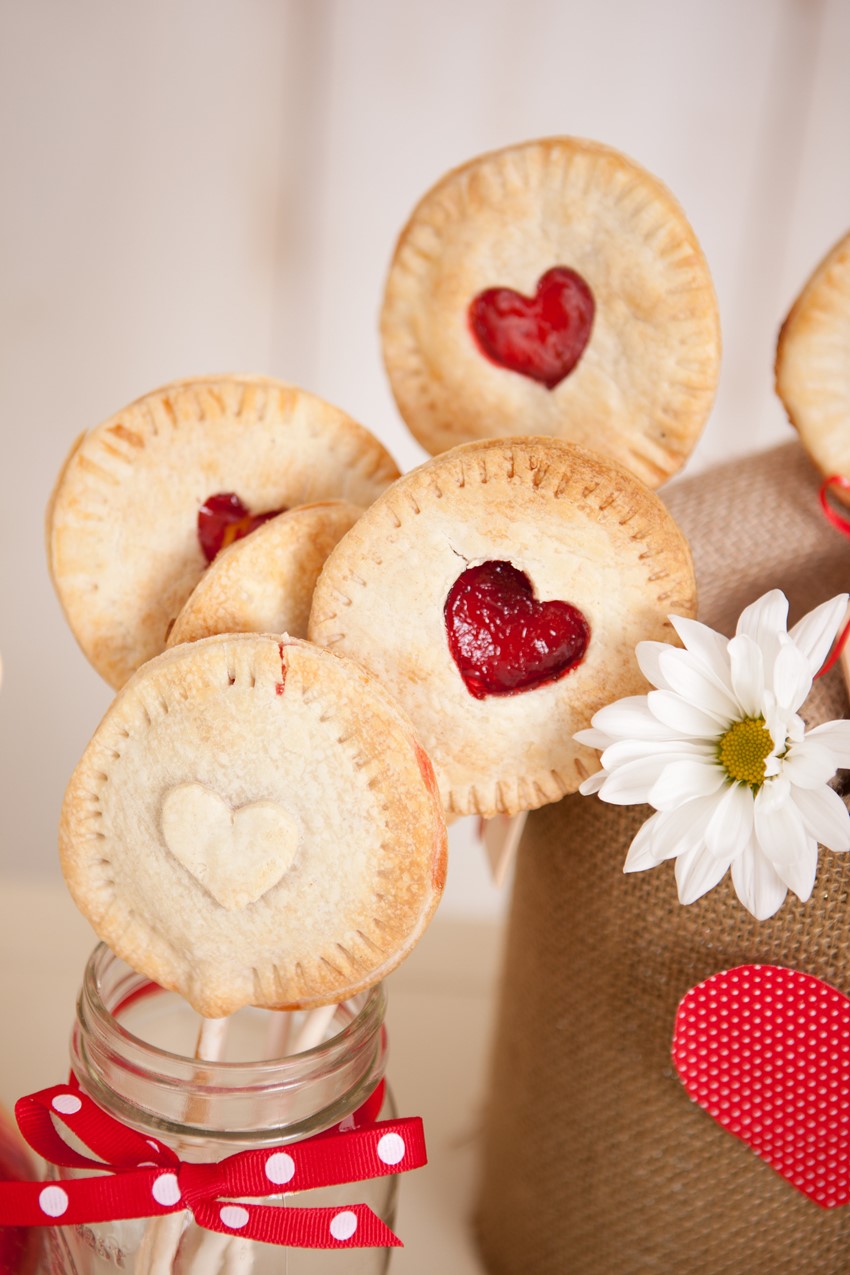
Today I am bringing you something seasonal and utterly delicious from one of my favourite wedding bloggers: Haley of The Bride Link. It is the most perfect DIY project for this time of year, and as DIY projects go, could NOT be any easier – so no excuses for not giving this one a go! The perfect tasty treat for your fiance for Valentines Day, or an edible favour your guests will love, these little pie pops and mini pies are as adorable as they are delicious…..
Haley has such a wonderful creative flair – something I am more than a little envious of – plus, as you will see later on, she is a natural in front of the camera! So when she offered me the chance to share some of her work with you, I jumped at the opportunity. Especially when I saw her gorgeous little DIY Pie Pops – after all, who doesn’t love a pie pop??
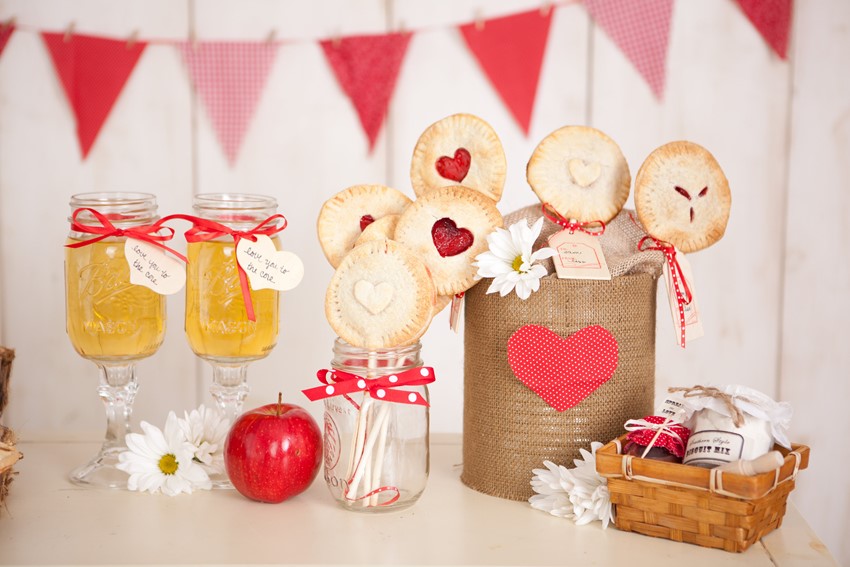
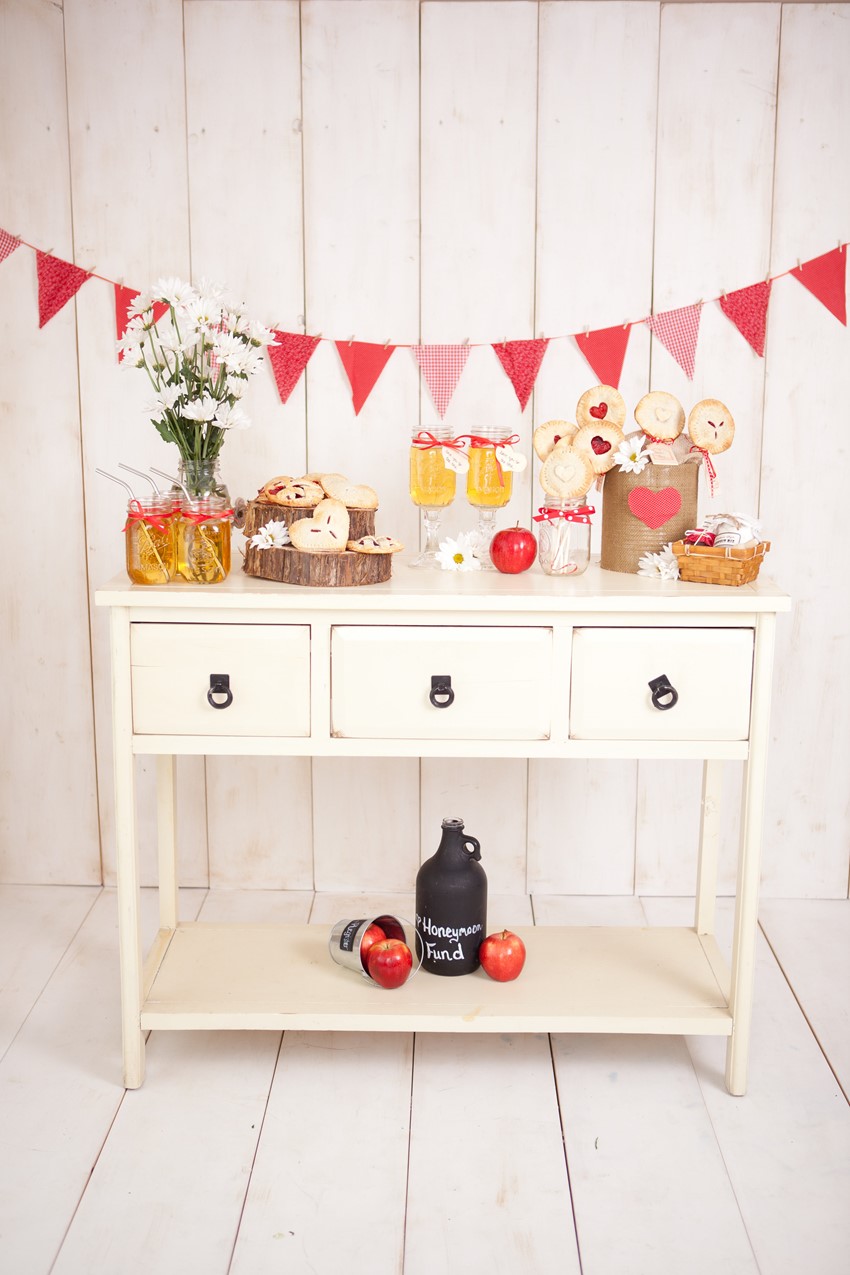
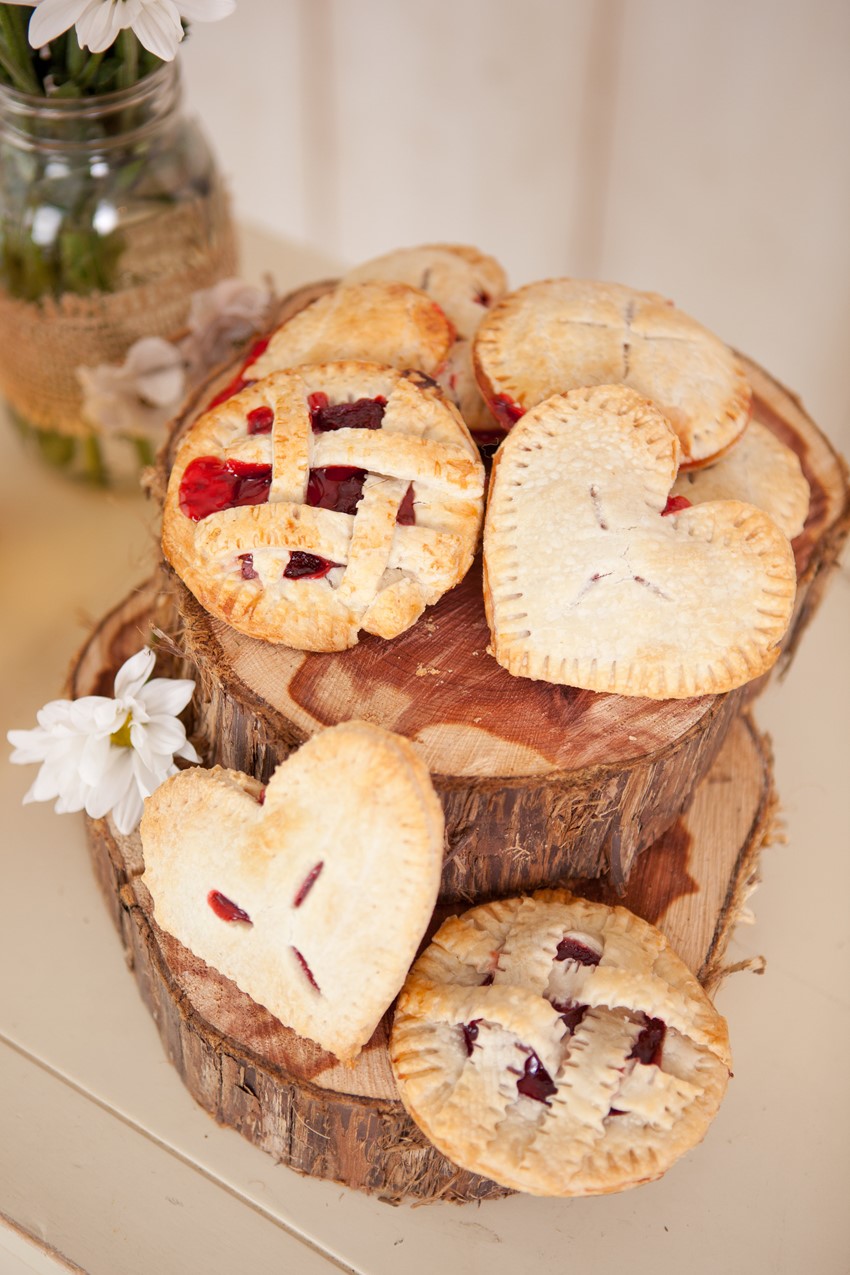
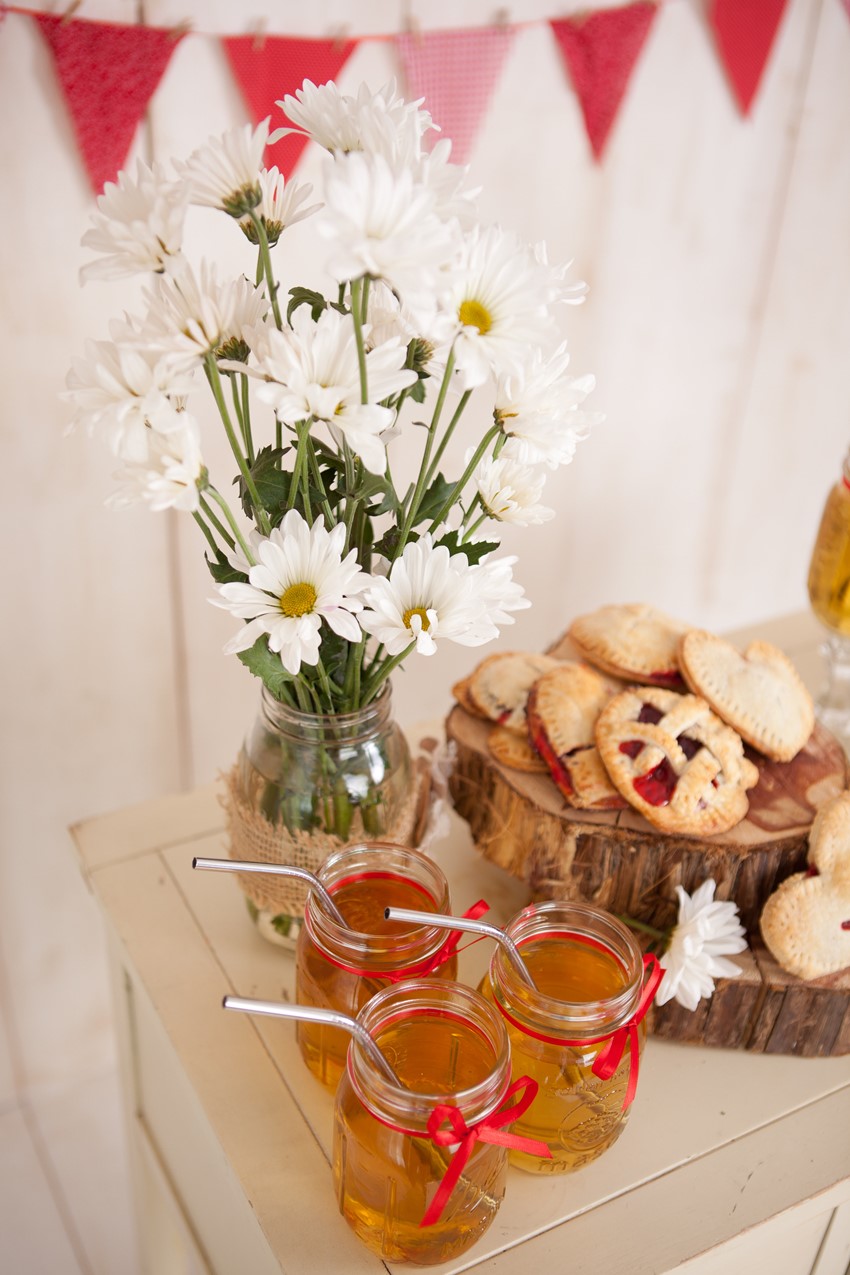
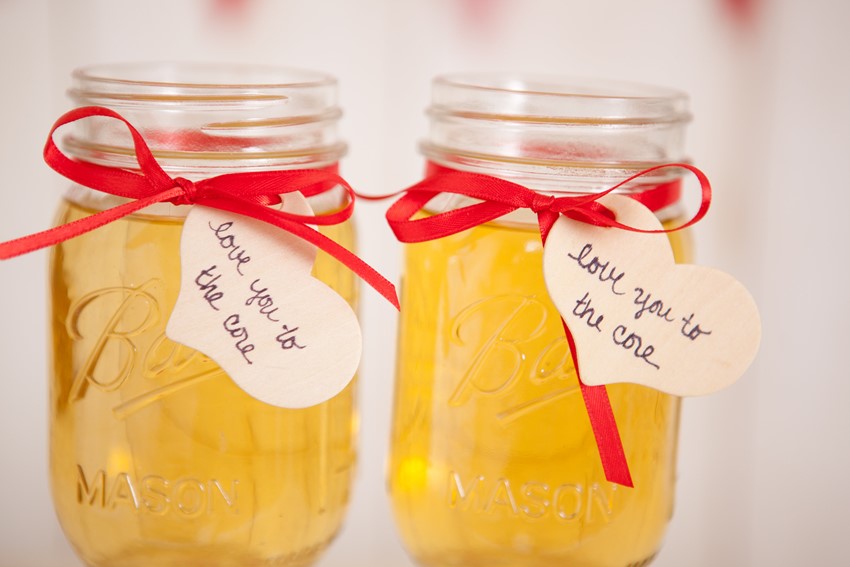
Haley coordinated and designed this step by step shoot, as well as the sweetest little display for her baked bites with perfect extras, including the mason jar wine glasses, mason jar mugs, name tags, jam filled favors, and red pennant banner, from Custom Love Gifts. The overall look is so sweet and inviting, perfect for a Valentines dinner or a rustic vintage wedding! Now, I am going to hand you over to the lovely lady herself for a little introduction to these tasty DIY treats…..
“These cute little pie pops and mini mies are perfect for any event, especially weddings for summer and fall! In this tutorial, we show how to make both pie pops and mini pies with a criss-cross design. “
Oh and just before we start, a big thank you to Danielle Evans Photography for allowing Haley to use her studios and for capturing every detail of this DIY project so beautifully!
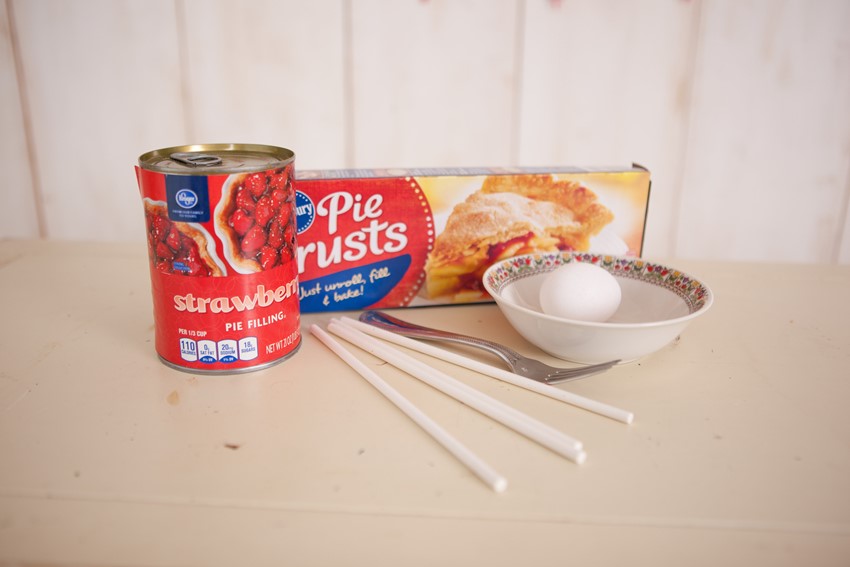
Items You Will Need
Pie filling – strawberry for a Valentines feel or any flavor you fancy
Pastry – Hales used Pillsbury pie crust
Egg whites
Pop sticks
Cup – or a cookie/pastry cutter
Fork
Knife or Pizza Cutter
Cooking brush
Baking sheets
Pie Pop DIY
1. Pre-heat Oven according to directions on your pastry.
2. Roll out the dough onto an even surface.
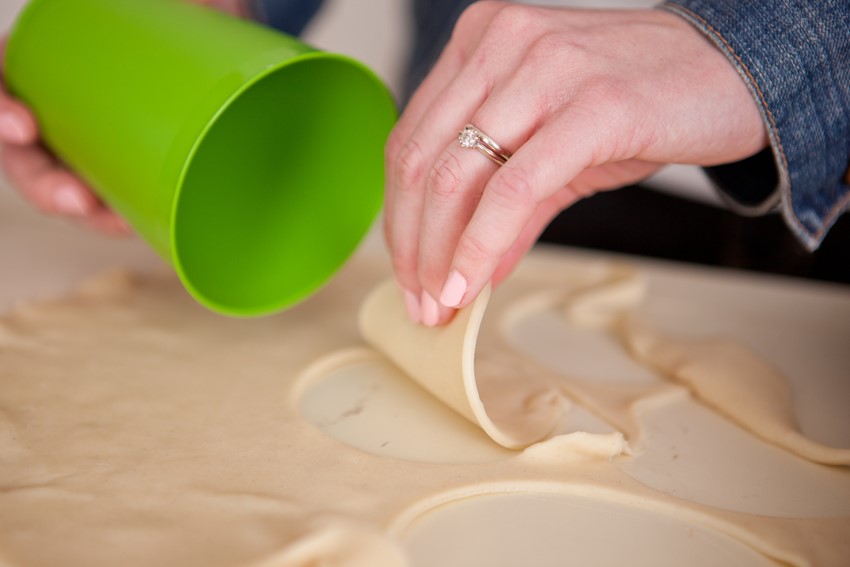
3. Using your cup (or pastry/cookie cutter) cut out 2 circles from the dough.
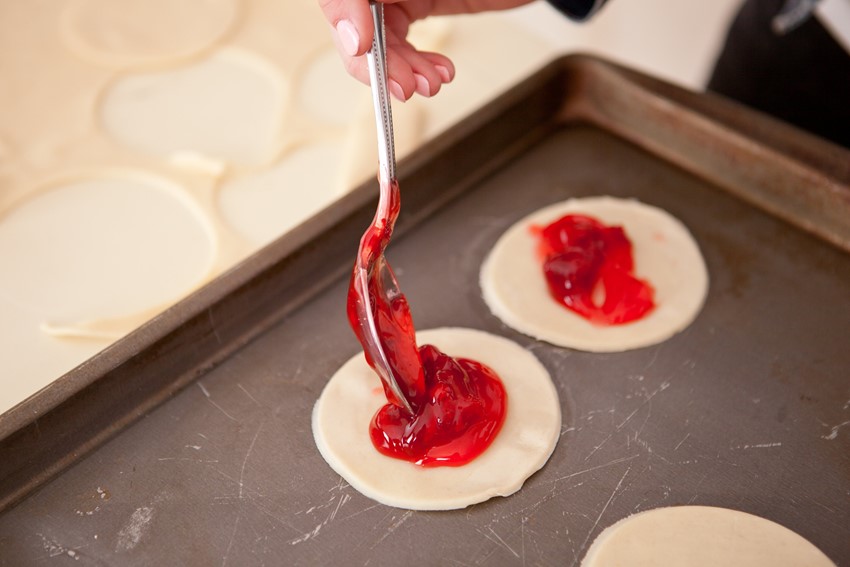
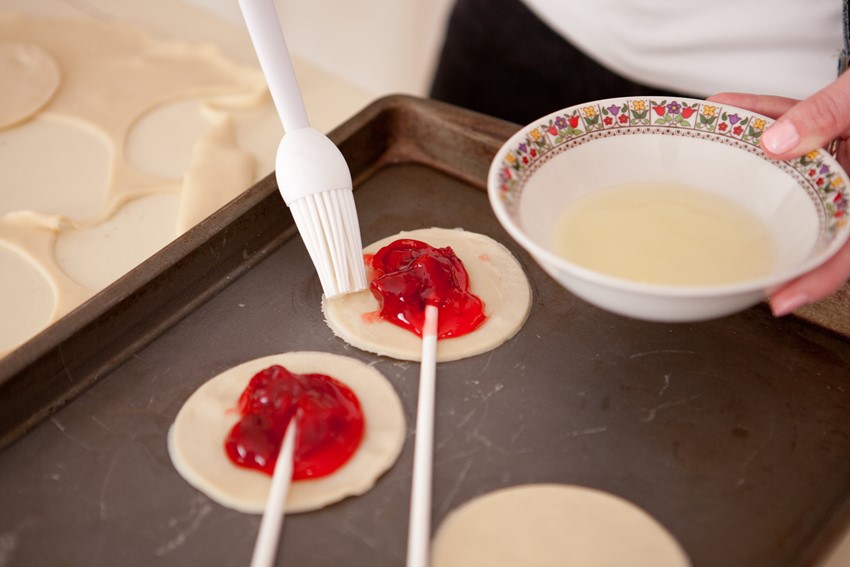
4. Spoon the pie filling onto one circle of the dough.
HINT: Too much filling will seep out of the edges of the crust after it is cooked, so keep it to about one heaping spoonful of filling per pie pop.
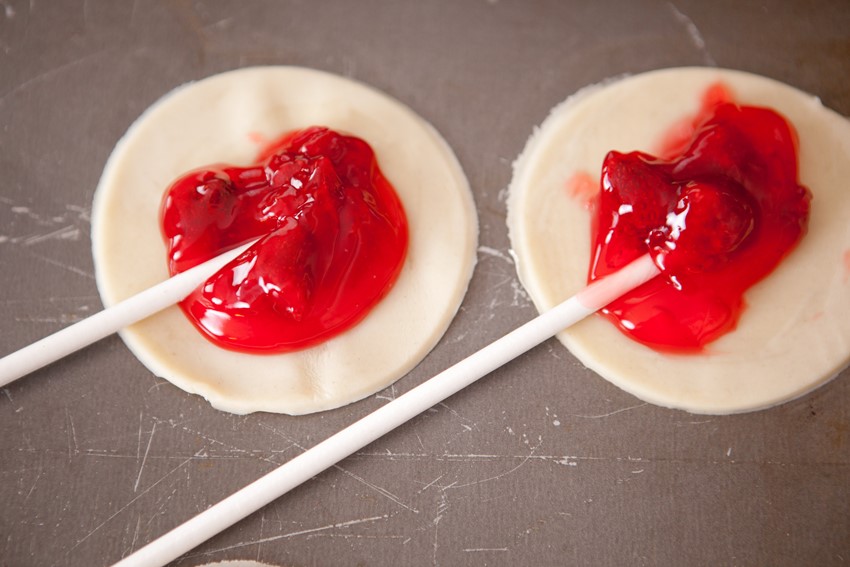
5. Insert your pop stick into the filling.
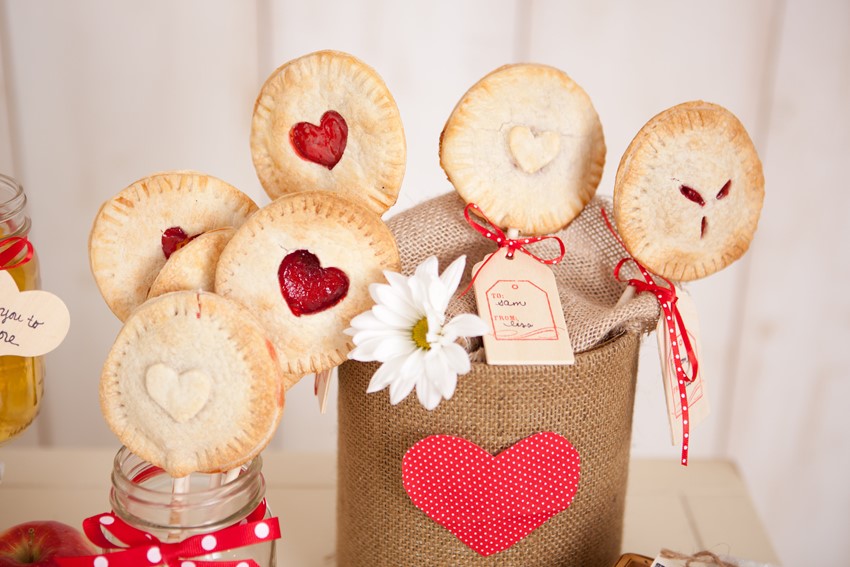
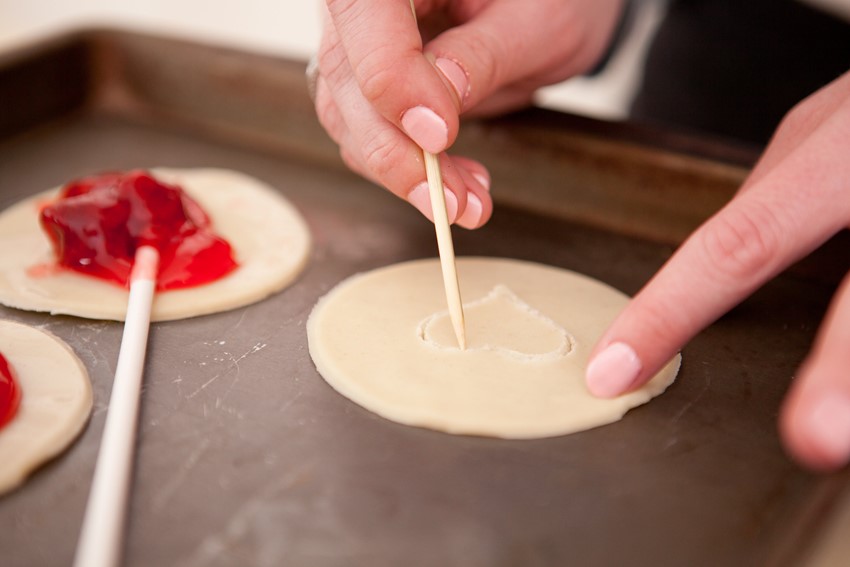
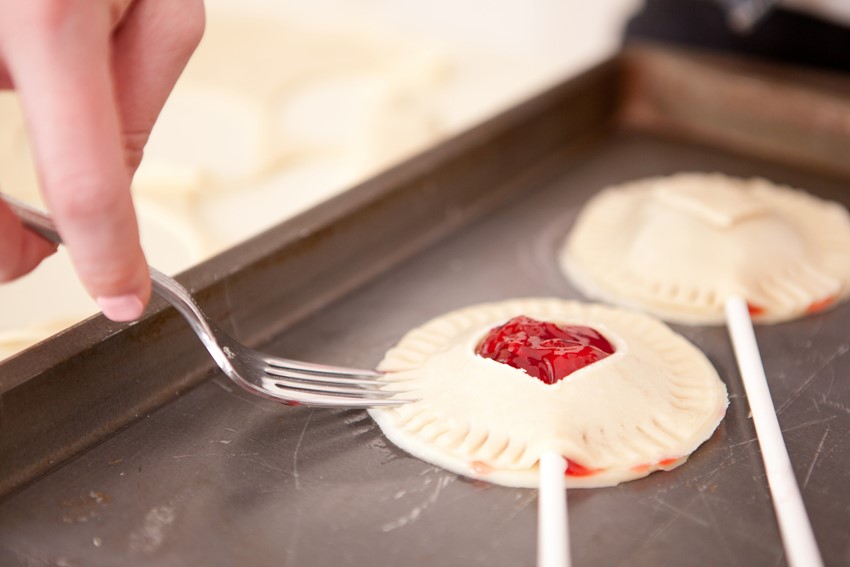
6. Cut a heart shaped center out of your second circle of dough.
7. Brush egg whites (mixed with a little water) onto the inner edges of the first layer of the pie pop.
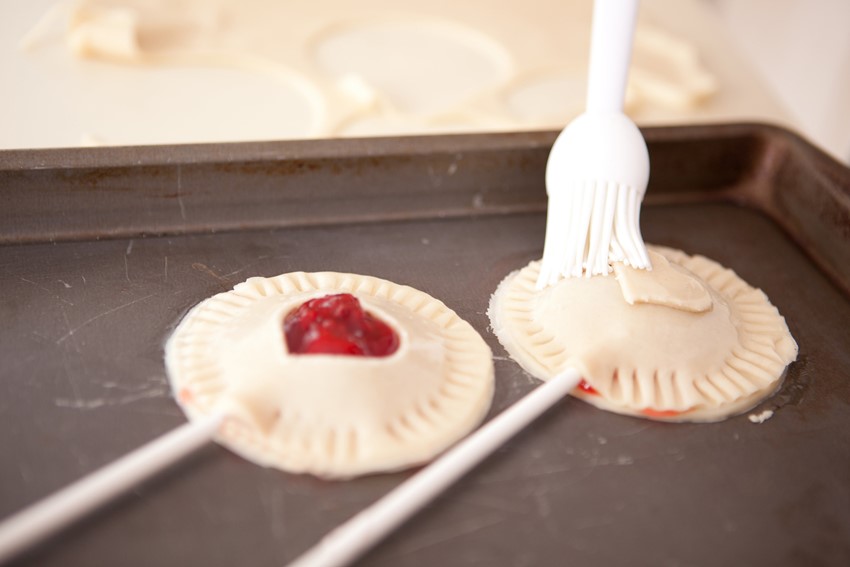
8. Lay the second layer of dough over the filling and use a fork to join the edges together. The egg white mixture will act as a glue for the dough.
TIP: To stop the pie pop stick from falling out after cooking, pinch the dough around the stick so it hugs it snuggly. For larger pie pops you may also want to put some extra dough around the stick for support!
9. Brush another layer of egg whites over the whole pie pop before baking to give it a golden brown appearance.
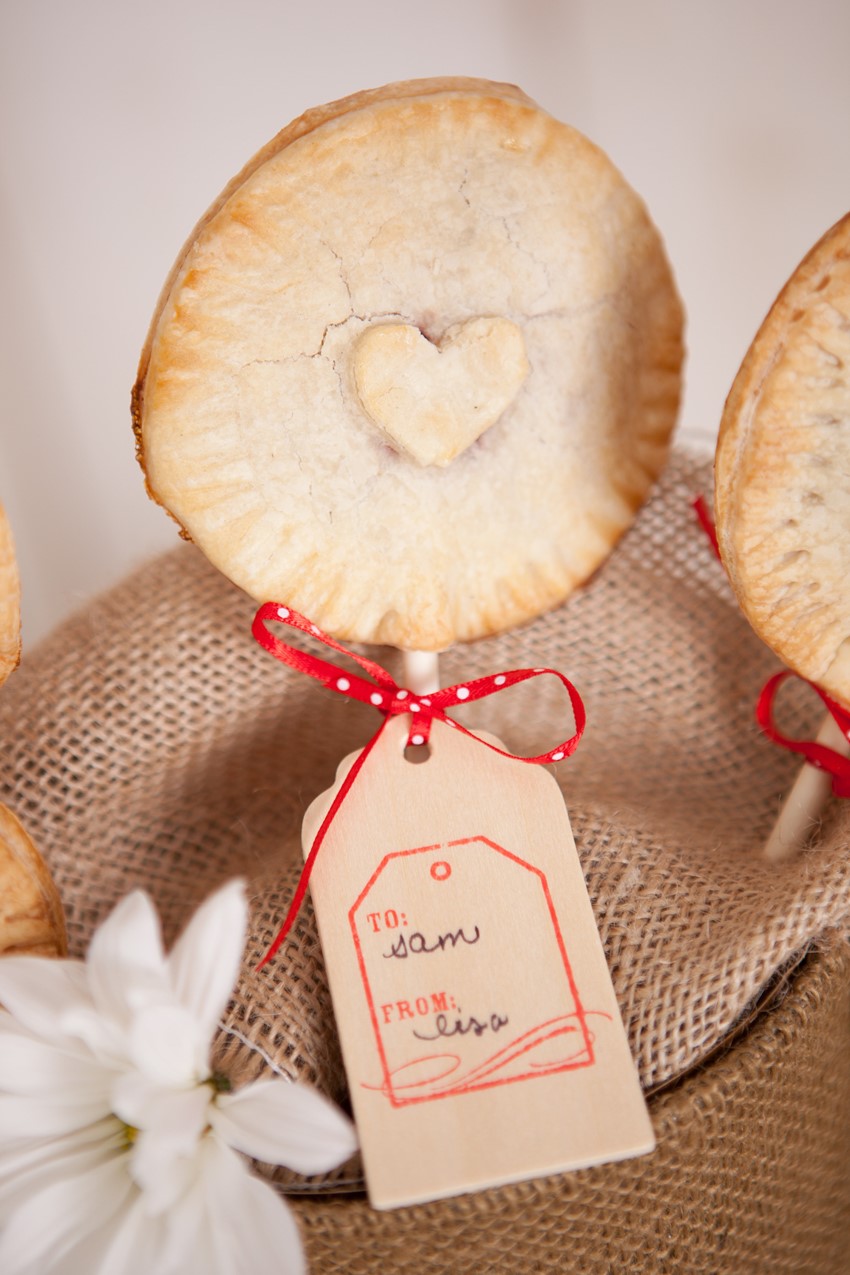
10. Bake for about 10-12 minutes at 400 degrees or according to the directions on the back of the pie crust box.
DETAIL: Add a cute little tag with your beloved’s (or your guests, if you’re creating these for a wedding) name on it for a personalized touch!
Or if pie pops are not your thing, or you would prefer to create something a little more every day, then try these Mini Pie mouthfuls instead!
Mini Pie DIY
1. Pre-heat Oven according to directions on your pastry.
2. Roll out the dough onto an even surface.
3. Using your cup (or pastry/cookie cutter) cut out 2 circles from the dough.
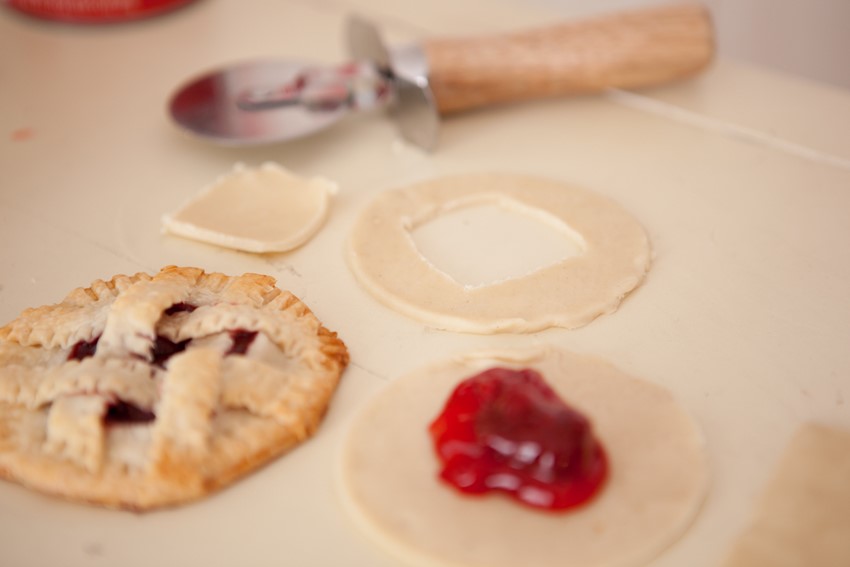
4. Spoon the pie filling onto one circle of dough.
5. Instead of cutting out a heart shape into the second circle of dough, cut a square window and lay the second circle of dough on top of the first.
HINT: Join the edges together by pressing gently with a fork and brushing with egg whites.
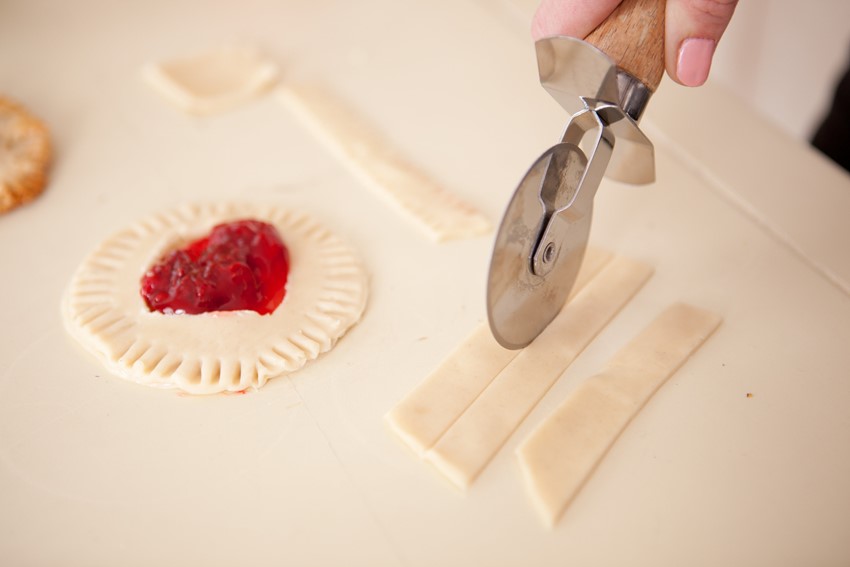
6. Using a knife or pizza cutter, cut 1/2 inch strips off your rolled dough.
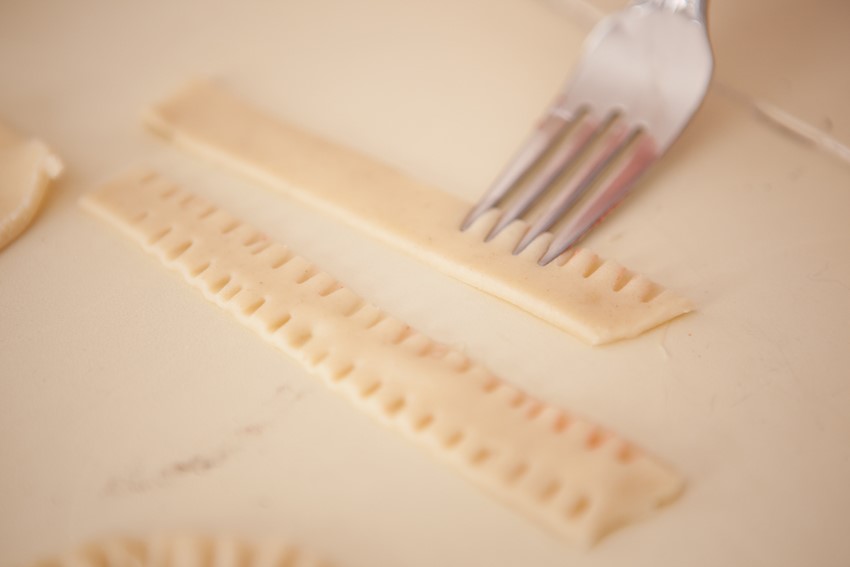
7. Create a decorative edge on both sides of each strip by using your fork.
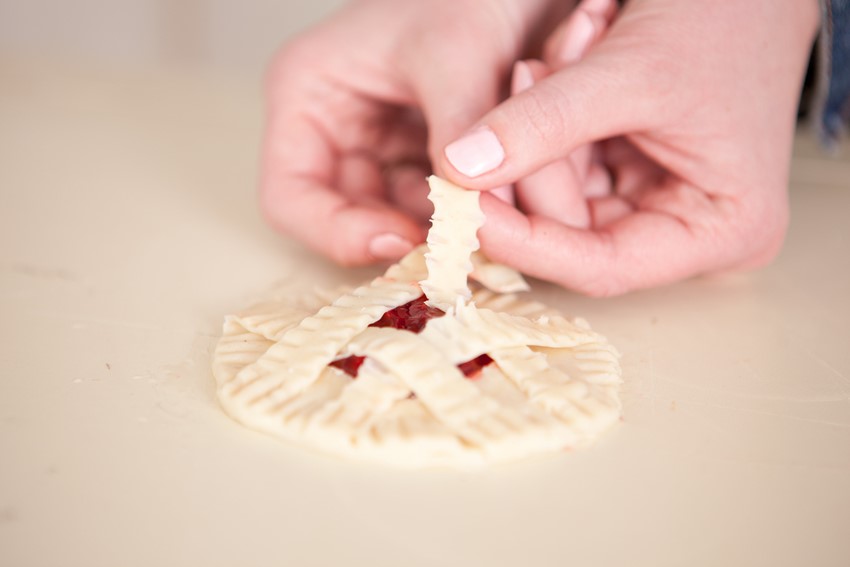
8. Weave the strips of dough over the mini pie and join the ends of each strip to the outer edges of the pie with a fork and egg whites.
9. Brush egg whites over the entire pie before baking.
10. Bake the mini pies for about 10-12 minutes on 400 degrees or until golden brown.
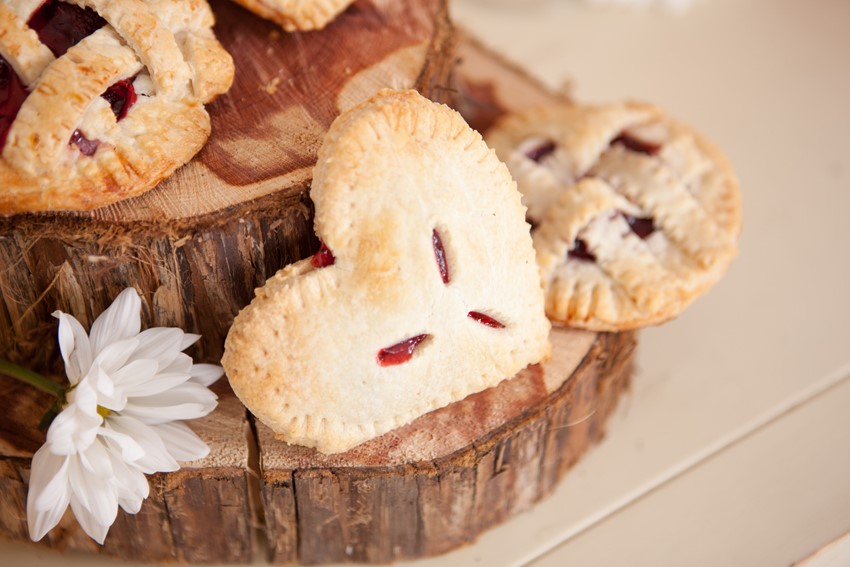
Don’t they look adorable as well as absolutely scrumptious? I can just imagine a whole pile of them filled with lemon curd, peach or blueberries for a rustic vintage wedding! To see each step and for extra hints and tips, make sure to watch this brilliant video tutorial by Haley and Wild Heart Studios!
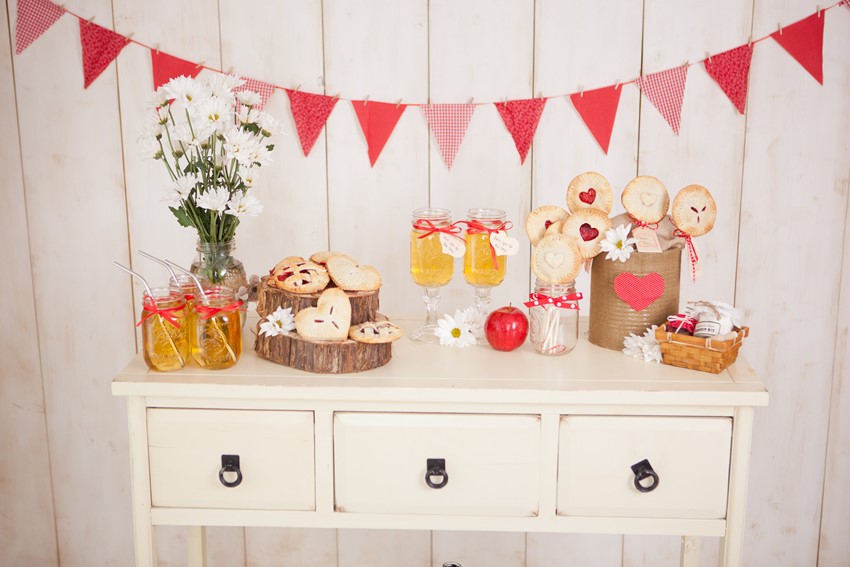
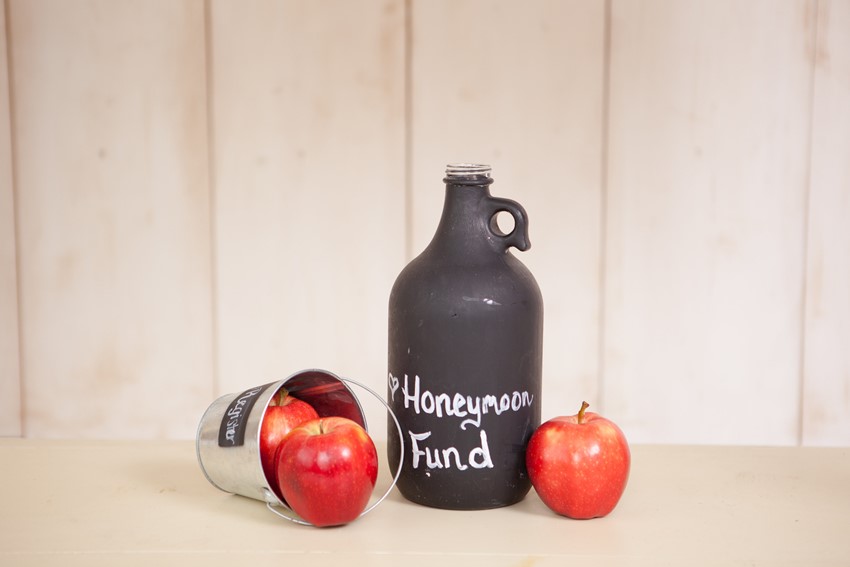
Well if that doesn’t have you feeling all (hungry! and) inspired, this sweet dessert table Haley created surely will…..
And if you’re loving all those details, and especially those mason jar glasses, as much as I am, don’t forget to check out Custom Love Gifts.
Thankyou so much again to Haley and the rest of the team for creating such an inspiring DIY project and for allowing me to share it with you here. I don’t know about you, but I am already looking forward to the next DIY post now!
Oh and don’t forget to pin and save this post, ready for the weekend, before you go!
Amy
x
Credits
Photographer ~ Danielle Evans Photography // Designer & Coordinator ~ The Bride Link // Favors & Decor ~ Custom Love Gifts // Video ~ Wild Heart Studios // Published first on The Bride Link

