Wedding DIY
Vintage Handkerchief Wedding Invitation DIY with Download & Print
THIS POST CONTAINS AFFILIATE LINKSYou might remember the oh-so-glam Art Deco wedding invitation tutorial from Download & Print that I shared last month? Well today Anna is back with another creative DIY invitation, and I must confess to being even more in love with it than I was the last one! If you are planning a wedding with a sweet whimsical or vintage vibe and want an invitation that is unique and memorable, this vintage handkerchief is for you!


Here’s founder of Download & Print and creator of this beautiful invitation, Anna, with the easy-to-follow, step-by-step tutorial….
“This handkerchief invite all came together with a magical product I found on Amazon called Blumenthal Lansing Crafter’s Images 100-Percent Cotton Poplin Photo Fabric. The fabric paper comes in a long roll that can be trimmed down to the size of a regular sheet of paper, and has a wax backing that allows it to be fed through your inkjet printer. It’s pure magic!
The video tutorial gives you a great feel for just how easy this fabric is to use, or keep reading for the pictorial and step-by-step instructions. Oh, and don’t forget the freebie template. As always I can’t wait for you to try this for yourself so I’m giving you the template for FREE to get you started. Included in this tutorial is the square Artisan Botanical in blush pink, but if this doesn’t suit your color palette you can head on over here and check out the design in lavender and cornsilk.
Supplies
– Printable templates
– MS Word or Mac Pages
– Color Printer
– Cotton Poplin Photo Fabric
– Rotary cutter with pinking blade, or pinking shears
– 5.5″ Square Envelope
– Ruler
Step 1: Cut Photo Fabric to Size
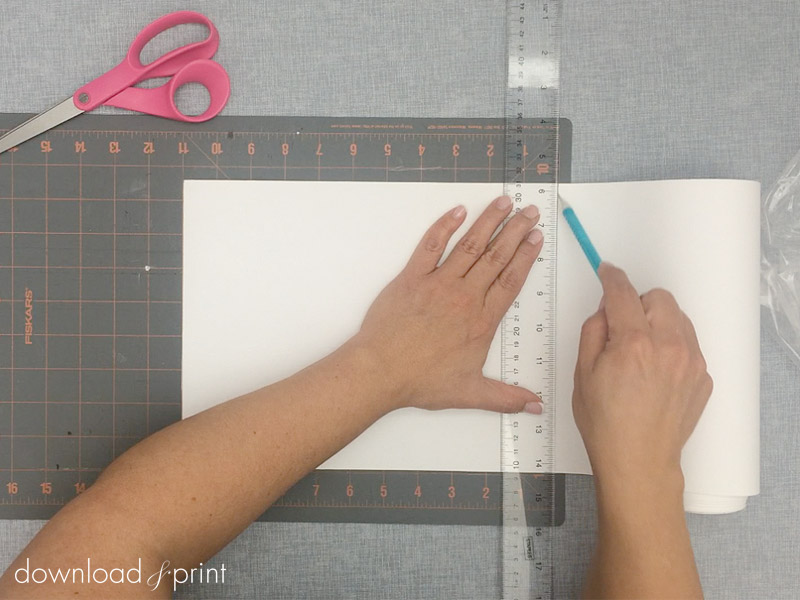
The photo fabric comes in a roll 8.5” wide by 100” long. The first step is to trim this down to the size of a regular sheet of paper so that it will feed through your printer. A standard sheet of paper in North America is 8.5 x 11”, so measure out 11” lengths and cut. I first scored the photo paper at the 11” mark and cut along my score line with scissors, but you can mark off 11” with a pencil and cut if you prefer.
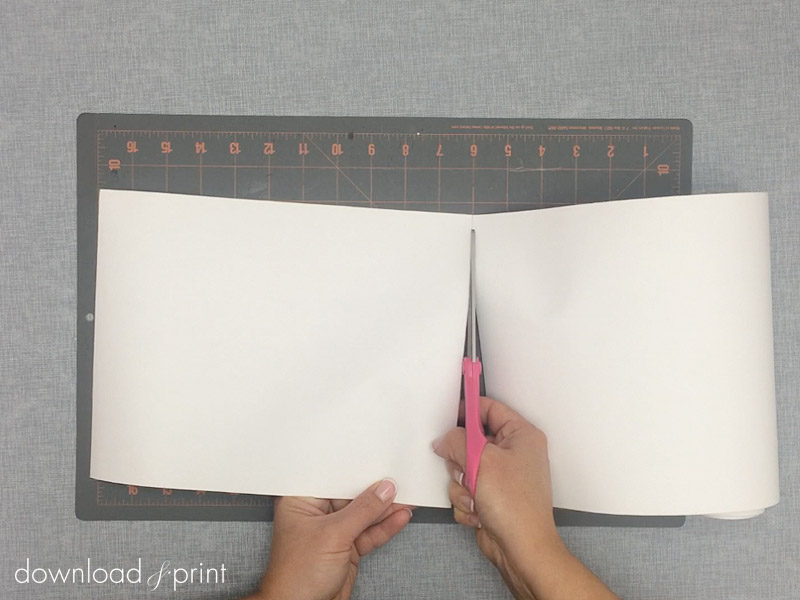
You will need one sheet of photo paper per invitation, so cut as many sheets as you need invitations.
Step 2: Download & Customize the FREE Template
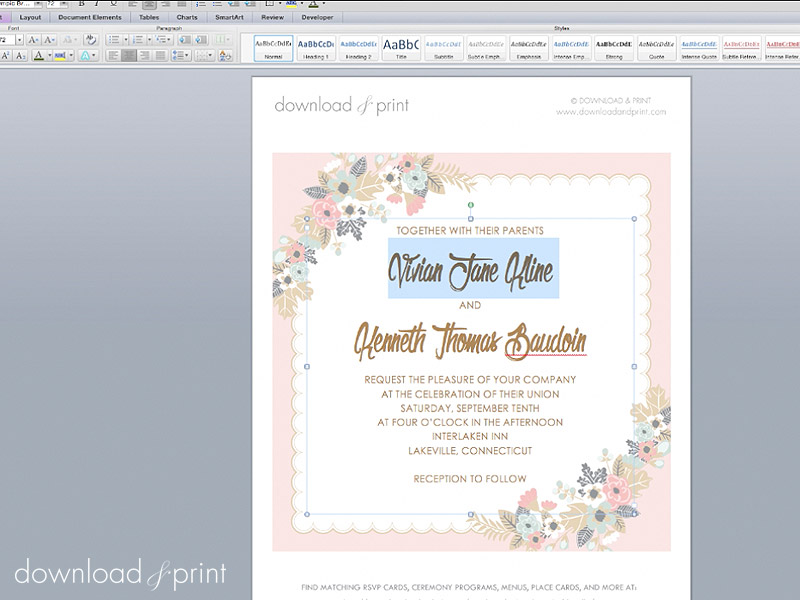
Download and install your chosen vintage fonts on your computer. The fonts that I used to use are Olympic Branding and Tw Cen MT and these can be downloaded for free following the links. You can choose any fonts that you like however. After installing the fonts on your computer, open MS Word.

Download the free hanky invitation template and open the file in Word. Add your names and wedding details. The text is completely customizable, so add lines, delete lines, and play around with the formatting until you are 100% happy with the way it looks.
Save the file on your computer so you can come back to it time and time again.
Step 3: Print!
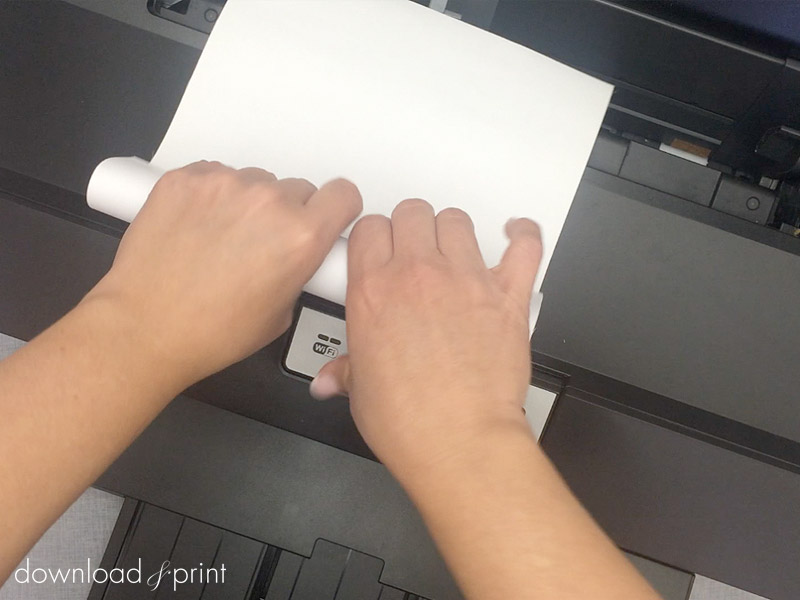
This is where the magic happens. It’s time to print the hanky. I found the photo paper had a tendency to curl toward the wax side so I loosely rolled each sheet in the opposite direction to flatten it out. I also found that placing some sheets of regular paper behind the photo paper when I loaded it into my printer helped the printer pick up the fabric paper.
I loaded each sheet of fabric paper individually, so this did add time to the printing process. Each printer is going to act a little differently with the photo fabric paper, as with any non-standard paper, so you may need to find your printer’s quirks and work with them.
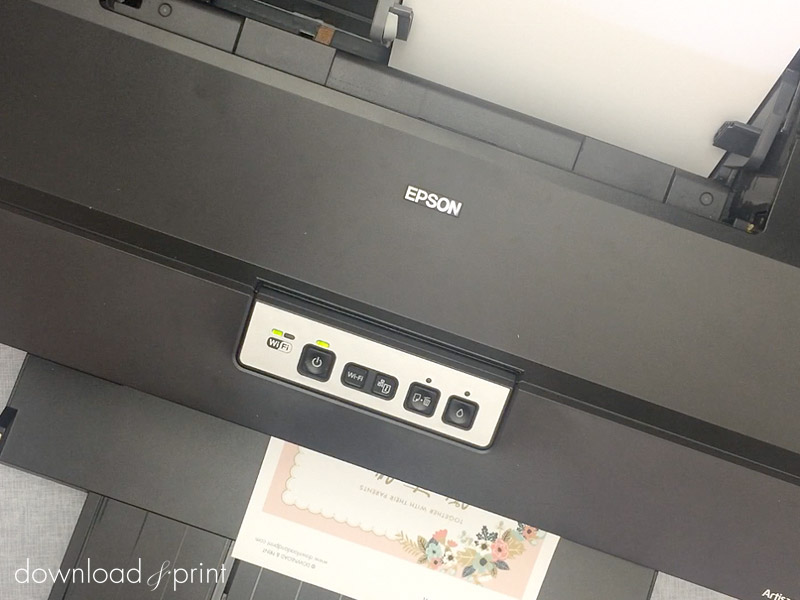
Print the hanky template on a sheet of photo fabric.
TIP: Print a copy of the invitation on regular paper first to check for spelling errors, formatting issues, date accuracy etc. Have a second and even third set of eyes read over the invitation before committing them all to print. This way you won’t waste any photo fabric and you won’t be left kicking yourself for overlooking a silly mistake!
Step 4: Remove Wax Backing
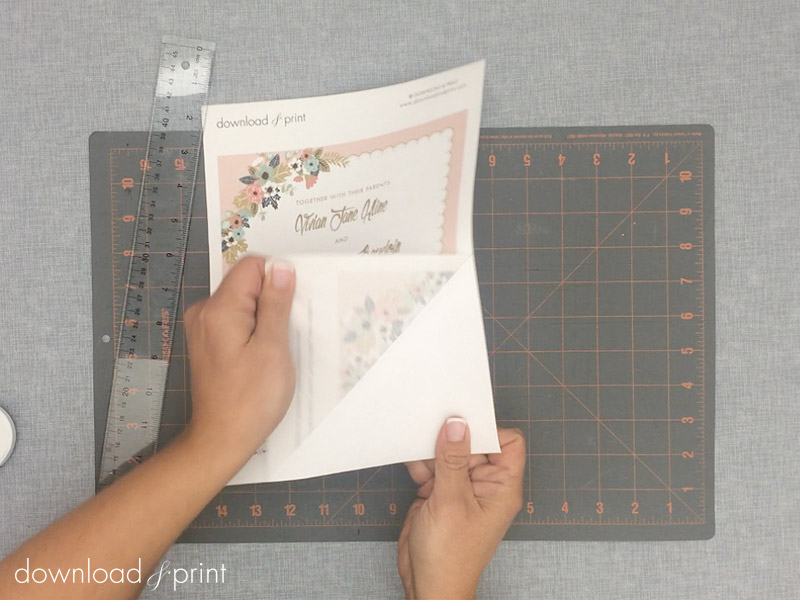
Peel back the wax backing on the photo paper. Now the photo paper is starting to look and feel like fabric.
Step 5: Trim Invitation
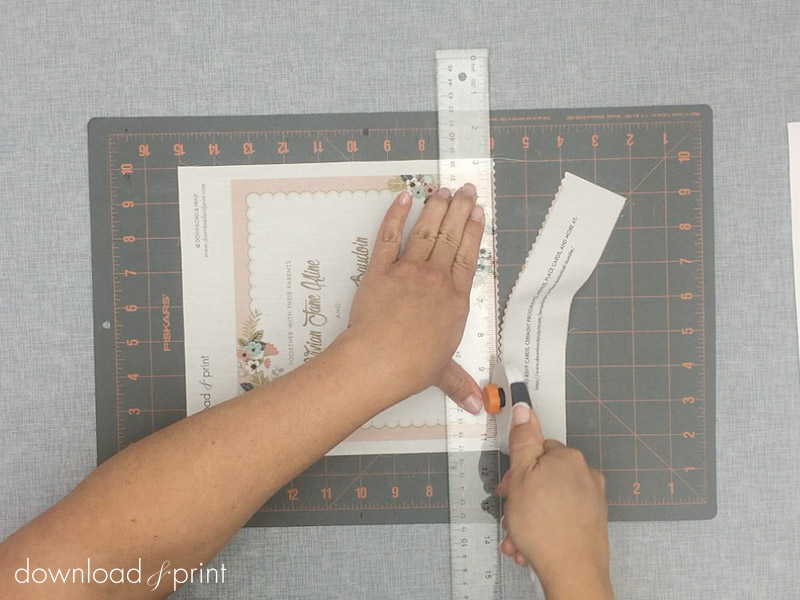
I decided to finish the edge of the hanky using pinking shears. I had a rotary cutter and pinking blade on hand, and I trimmed around the invitation using these. I lined my ruler up just inside the pink edge of the invitation so as not to get any white in the crimped border.
If you are handy with a sewing machine and want to take the extra time you could also create a rolled hem around the border. Or a serger machine would also put a clean edge on. For me the pinking shears were quick, easy and cheap, and gave an edge that I was happy with.
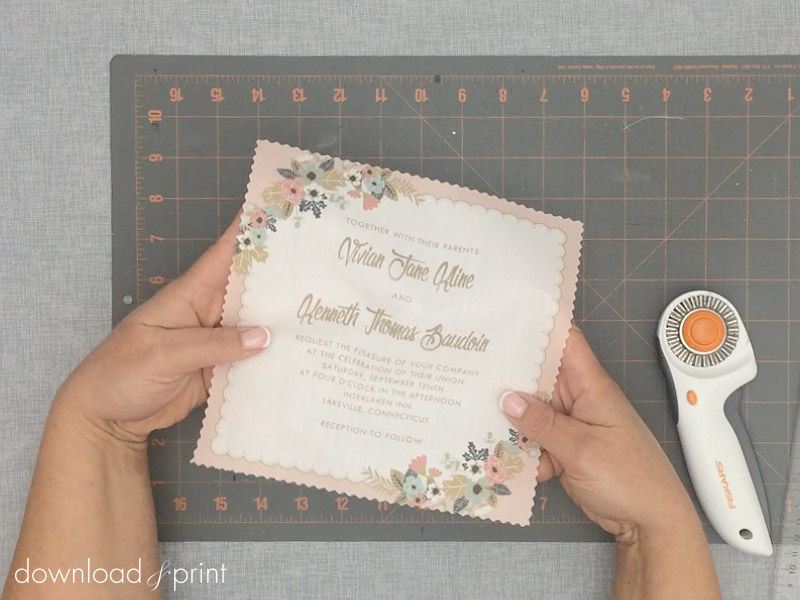
How awesome does this look! Once you touch and feel it you will be as rapt with this DIY as I am.
Step 6: Fold & Finish
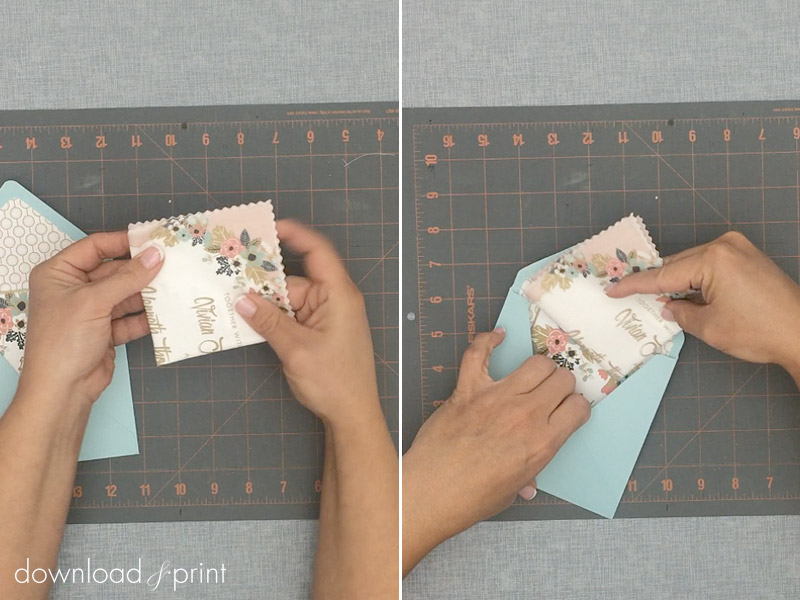
There are an endless number of ways you can finish this DIY and display the hanky for mailing. I folded the hanky in half and in half again, and stuffed into a 5.5” square envelope that I had finished with our coordinating envelope liner. I also included the coordinating RSVP card and a 4-bar envelope for guests to send back their responses.
A huge thankyou to creator Anna Skye of Download & Print for sharing this fabulous DIY with us today – yet again she’s made it all look so easy! Isn’t it fabulous? If you try this tutorial (or any of Download & Print’s wonderful DIYs) I want to hear from you! Do let us know how your efforts turned out in the comments below – and feel free to email me photos to [email protected].
Now, if you love the idea of DIYing your invitation but are looking for something more glamorous be sure to check out the tutorial and free Art Deco invitation template Anna shared with us last month. Or if you have been inspired you to create your own invites, and want to see some of the other designs available, be sure to check out Download & Print and use the exclusive coupon code ‘CVB10‘ for $10 off your membership.
And keep an eye out here on Chic Vintage Brides, because Anna will be back next month with another creative wedding invite DIY, this time with a beautiful rose background, that you are going to adore!
Amy
x


