Wedding DIY
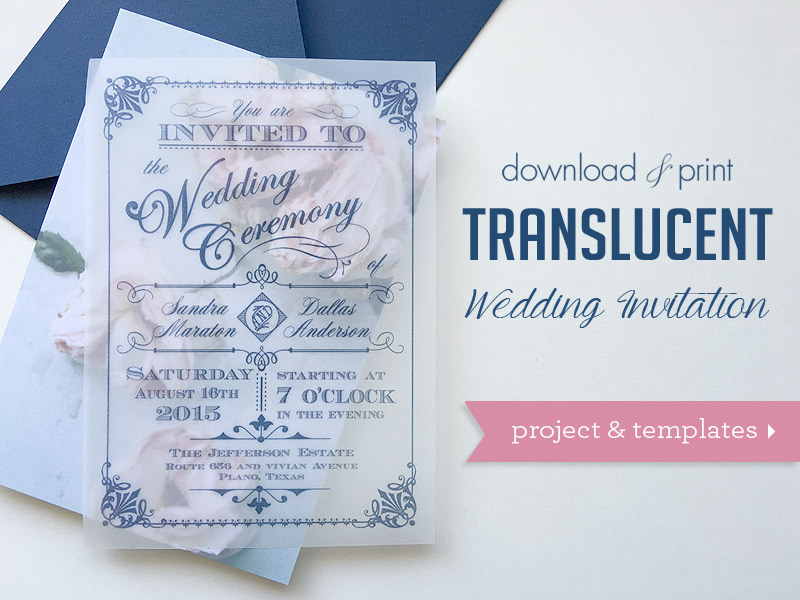
Translucent Wedding Invitation DIY with Download & Print
THIS POST CONTAINS AFFILIATE LINKSToday I am bringing you the third in a series of DIY posts from the brilliant Download & Print, and wow is it a doozy! After an Art Deco invite Jay Gatsby himself would be proud to send, and a sweet vintage handkerchief invite that looks anything but DIY, today’s tutorial is for a beautifully elegant and timeless design with a rose print background that makes it perfect for any creative couple…..

If DIY’s typically aren’t your thing, this is the time to break out of your comfort zone and take a peek at the tutorial below. On a scale of 1 to 10 Anna assures me the crafting skills required are a 1, it’s really that easy – so there are no excuses. And I think you’ll agree the resulting invitation is truly breathtaking.
So, as always, let me hand you over to Anna for the step by step tutorial……
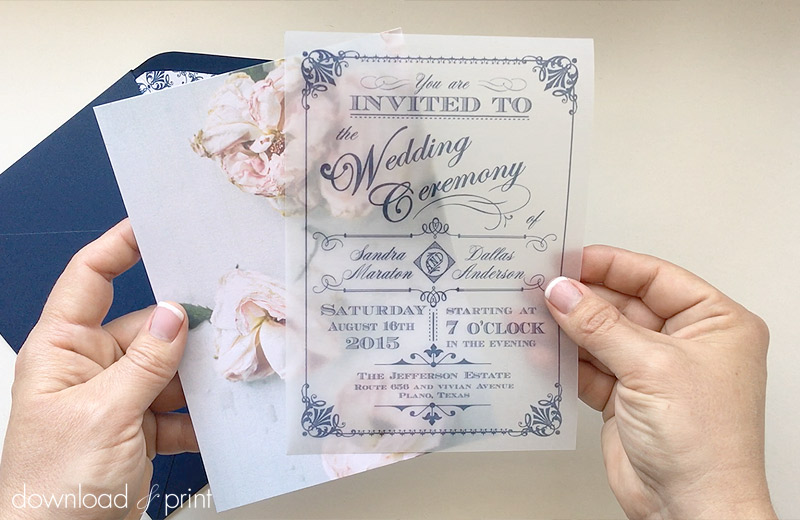
“This timeless invitation is printed on gorgeous, shimmering vellum paper. A beautiful rose peeks through the translucent vellum, it feels almost sensual. It’s unique, sophisticated, so so pretty, and really easy to put together.
I found the rose image on Unsplash, an amazing resource of free (do whatever you want) high-resolution photos. If roses are not your vibe, find awe inspiring landscapes, architecture and botanical images to use with this project, and create an entirely unique look for your stationery. The rose image I fell in love with is from Russian photographer Daria Shevtsova.
I’ve paired the rose background with our Ornate Vintage invitation in navy. It’s got vintage charm and plenty of white space to let the background shine through.
SUPPLIES:
– Free Rose Template
– Printable invitation template
– Vellum paper
– Printer
– Paper cutter and/or scissors
– Navy A7 envelopes
– Printable invitation template
Step 1: Download & Print
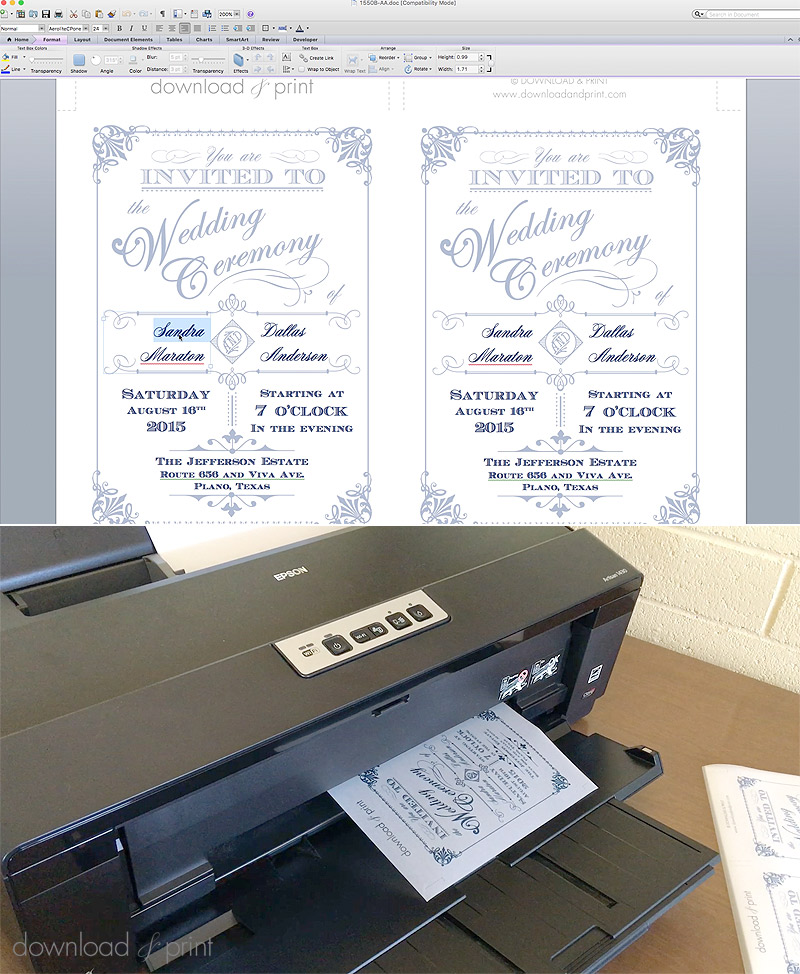
Download the Ornate Vintage invitation in navy and save the file to your computer. If you love the fonts I’ve used download the free fonts EcuyerDax and Aerolite CP and install them on your computer. This must be done prior to opening the template in Word.
Open the invitation in MS Word or Mac Pages and type over the placeholder text with your wedding information. Check and double check your spelling, dates and formatting. I recommend printing one copy, and getting another set of eyes on your invitation to check again for errors before committing to print them all.
Once you checked and are happy with them, print the invitations on the vellum paper.
TIP: If your printer has trouble with the vellum, try folding a thin piece of tape along the lead edge of the paper. Your printer may be able to better pick up the tape than the slippery paper. If your printer still proves fickle try taping a regular sheet of paper behind the vellum, again placing the tape along the lead edge of the paper. You can remove the tape and regular paper once the vellum is printed.
Step 2: Print Rose Background
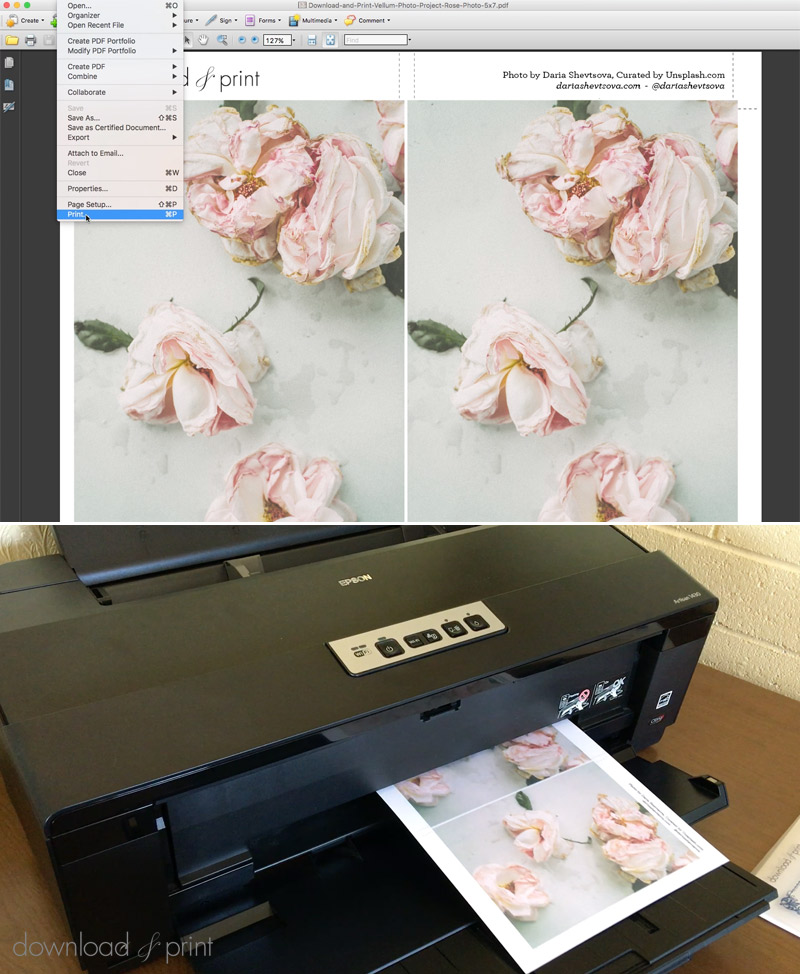
Download the free rose printable background and print on 8.5 x 11″ card stock. Choose a heavy card stock to give your invitations form. Just make sure the paper isn’t so thick that it jams your printer. Your printer should be good with any paper between 65 lbs and 90 lbs.
TIP: You can also print the templates on A4 paper.
Step 3: Trim Invitation

Trim the vellum invitation and rose background along the dotted lines. The finished invitation size is 5 x 7″.
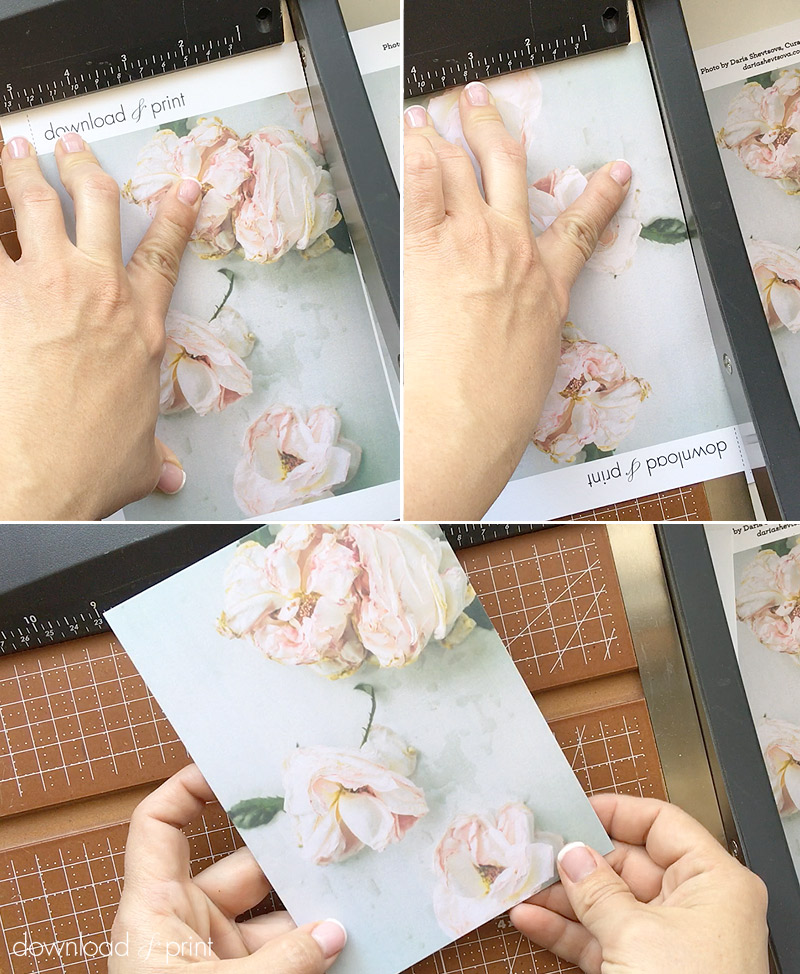
I find this step goes quicker with a paper trimmer and I get straight cuts, however you can use scissors or an X-acto knife and ruler.
Step 4: Assemble
Layer a vellum invitation over the rose background. *Gasp* It’s so pretty!
Oh she wasn’t kidding when she said it was easy! And I have only just realised the invite is the same design as the Art Deco invite, but how different it looks printed on vellum in navy and with that rose background?! It’s amazing. A huge thankyou as always to creator Anna Skye of Download & Print for sharing this fabulous DIY with us today.
Now, if you love this design but would like it in another color palette take a look at the 10 color choices here. Or if Anna’s wonderful designs and skills have inspired you to DIY your invites, check out Download & Print and use the exclusive coupon code ‘CVB10‘ for $10 off your membership.
And do keep an eye out here on Chic Vintage Brides, because Anna and her tutorials will be back!
Amy
x


